mudjacking problems: why slabs sink again and what fixes it
⏱️ 8 min read · Last updated: 2026
- mudjacking slurry typically weighs about 100–120 pounds per cubic foot, which is heavier than polyurethane foam used in polyjacking.
- Typical slab re-settlement after a poor mudjacking job shows up in 6–24 months, especially where drainage is bad or the subgrade is soft.
- Washout is a major failure path for exterior concrete, and real-world failure rates are commonly reported in the low single digits to low teens depending on site conditions; no single verified universal percentage exists.
- A 1,000-square-foot sidewalk with a 2-inch lift needs about 5.2 cubic yards of fill under the slab, so small mistakes in volume add up fast.
- Polyurethane foam leveling usually uses much less material volume than mudjacking slurry, which is one reason it is often better for repeat settlement.
For most sinking sidewalks, mudjacking problems start below the slab, not on top of it. The slab looks fixed for a season, then a corner drops again after rain, freeze-thaw, or a heavy delivery truck.
I have watched that pattern repeat on sidewalks with clean cosmetic work and awful support underneath. One quote I saw in 2026 was $1,850 for mudjacking versus $1,050 for polyurethane foam, and the cheaper number did not automatically mean the better value.
The hard part is that mudjacking can still be the right call on stable soil and modest lifts. But once the fill is too heavy, the void is still active, or water keeps moving under the concrete, the repair can turn into slab re-settlement instead of a reset.
How mudjacking actually works and why the weight matters
Mudjacking lifts a slab by pumping a cement-based mudjacking slurry through drilled holes until the concrete rises. The method works best when the soil can hold the added load and the void is stable enough to stay filled.
The weight is the trade-off. Mudjacking slurry commonly weighs about 100–120 pounds per cubic foot, so it adds real load under a sidewalk that already settled once. That matters on weak fill, wet clay, and spots with past erosion.
| Material | Typical density | What that means under a sidewalk |
|---|---|---|
| Mudjacking slurry | 100–120 lb/ft³ | Heavier fill; more stress on weak or wet subgrade |
| Polyurethane foam | About 2–4 lb/ft³ | Much lighter; less added load and less chance of pushing soft soil around |
| Native compacted soil | Varies widely | Only works if drainage and compaction are already good |
The key here is the fill-to-void relationship — notice how a small pocket under the slab can take a surprising amount of material. That is what separates a clean lift from a slab that starts moving again after the first wet season.
A mudjacked sidewalk that sinks again within 6 to 24 months usually has a subgrade problem, not just a cosmetic repair problem.
One practical way to think about mudjacking problems is this: the repair is not just lifting the slab, it is also asking the ground to support a new load pattern. If that ground is already soft, muddy, or washed out, the fix can become part of the problem.
Why your mudjacked sidewalk sinks again
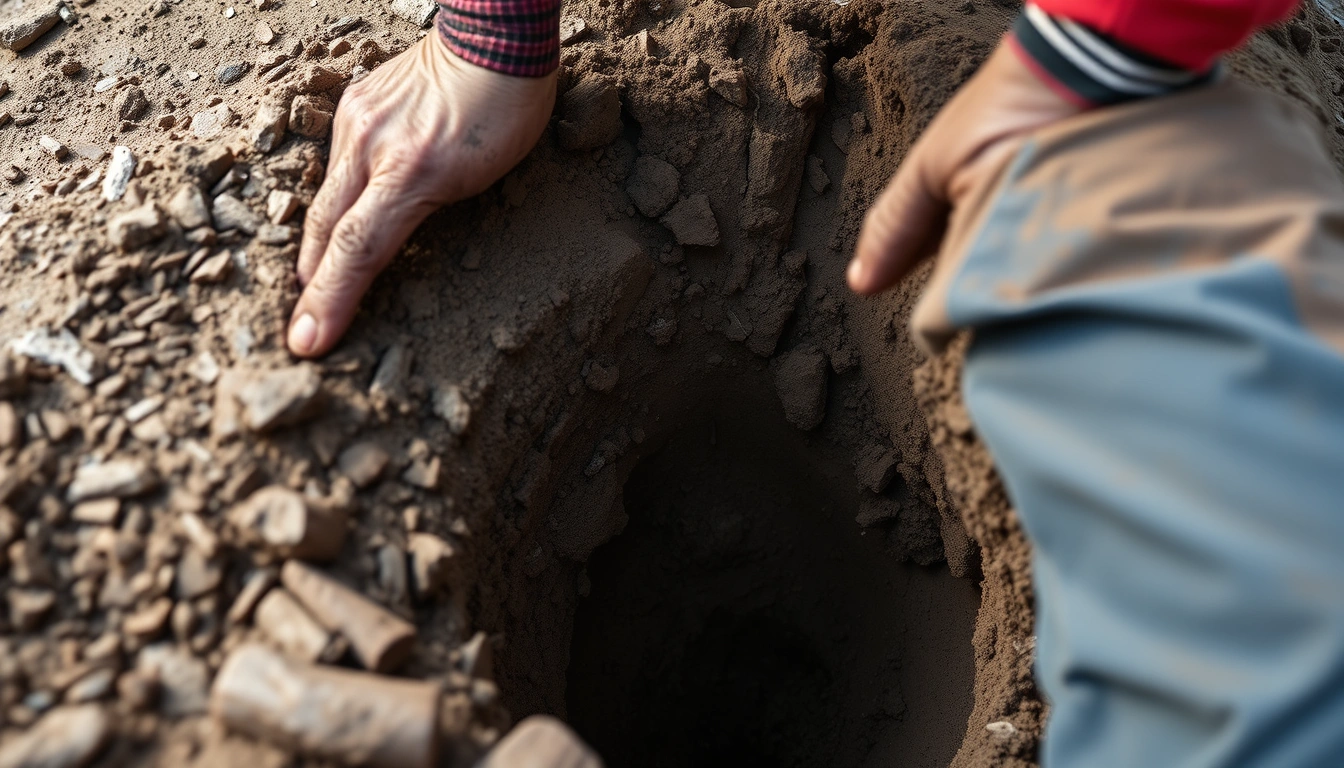
Your mudjacked sidewalk sinks again because the original cause was never fixed or because the repair added stress that the soil could not hold. In most repeat cases, the real issue is water, weak subgrade, or incomplete fill.
The biggest slab re-settlement patterns are easy to spot if you know where to look. A corner that drops first usually points to edge erosion. A whole panel settling evenly usually points to broad soil consolidation. A narrow strip that fails after rain often points to mudjacking washout.
What re-settling causes usually look like in the field
- Downspout discharge: Water shoots at the slab edge and slowly carries fines away.
- Freeze-thaw movement: Water enters a void, expands, and breaks down support.
- Soft backfill: The sidewalk was built on fill that never fully compacted.
- Old utility trench: A trench settles differently than the native soil beside it.
- Tree roots and irrigation: Roots and water patterns change support over time.
The important part is timing. If the slab drops again in the first wet season, that is a strong clue that washout or poor drainage is still active. If it lasts a few years and then settles, the cause is often soil consolidation or root movement instead.
For a deeper look at methods and when each one makes sense, I keep coming back to concrete sidewalk leveling as the simplest way to compare repair paths without mixing up the symptoms.
If you want a reality check on whether the repair is actually worth doing, the framing in is concrete leveling worth it is useful because it forces you to compare failure risk, not just the initial quote.
The short version: mudjacking problems are rarely random. They usually repeat where water, soil, and load all meet in the same weak spot.
The correct way to repair a slab without creating new problems
The correct way to repair a slab is to diagnose the cause first, then lift only after the void and drainage issue are understood. If the crew drills and pumps before checking slope, runoff, and soil condition, the repair is already compromised.
That is why the best jobs look boring from the street and careful up close. The holes are small, the lift is gradual, and the slab ends up level without forcing one side higher than the surrounding walkway.
- Inspect the full panel, not just the crack. Check for edge drop, birdbaths, and water paths. Do not guess from one low corner.
- Find the water source. Look for downspouts, sprinkler overspray, or grading that sends runoff toward the slab. Do not fix the lift while the water problem is still active.
- Probe the soil condition at the edge. Check whether it is dry, soft, or hollow. Do not assume the ground is stable because the surface looks intact.
- Mark the drill points and planned lift height. Measure the change in height in inches, not just “a little bit.” Do not over-lift one side to chase a perfect line.
- Inject the mudjacking slurry slowly and in stages. Watch for heave, cracking, or uneven rise. Do not flood one hole and hope the slab levels itself.
- Seal the holes and verify the finish slope. Water should run away from the sidewalk edge. Do not leave a repair that creates a new puddle.
The measurement that matters most is the post-repair slope. A sidewalk segment that still holds water after the lift is a warning sign, because standing water feeds the next round of washout.
| Check | Good result | Bad result |
|---|---|---|
| Lift height | Matches surrounding slab within a small, usable transition | One edge is visibly higher and feels like a trip lip |
| Surface drainage | Water moves away in the next rain | Puddles form along the repaired panel |
| Drill-hole pattern | Small, even holes with clean patching | Scattered holes from repeated rework |
| Settlement timeline | Stable after the first heavy rain cycle | New drop within 6–24 months |
If the project is still on the fence, the breakdown in concrete leveling cost sidewalk helps you compare repair size, access, and risk instead of staring at one lump sum.
Before vs. after: what good mudjacking problems actually looks like
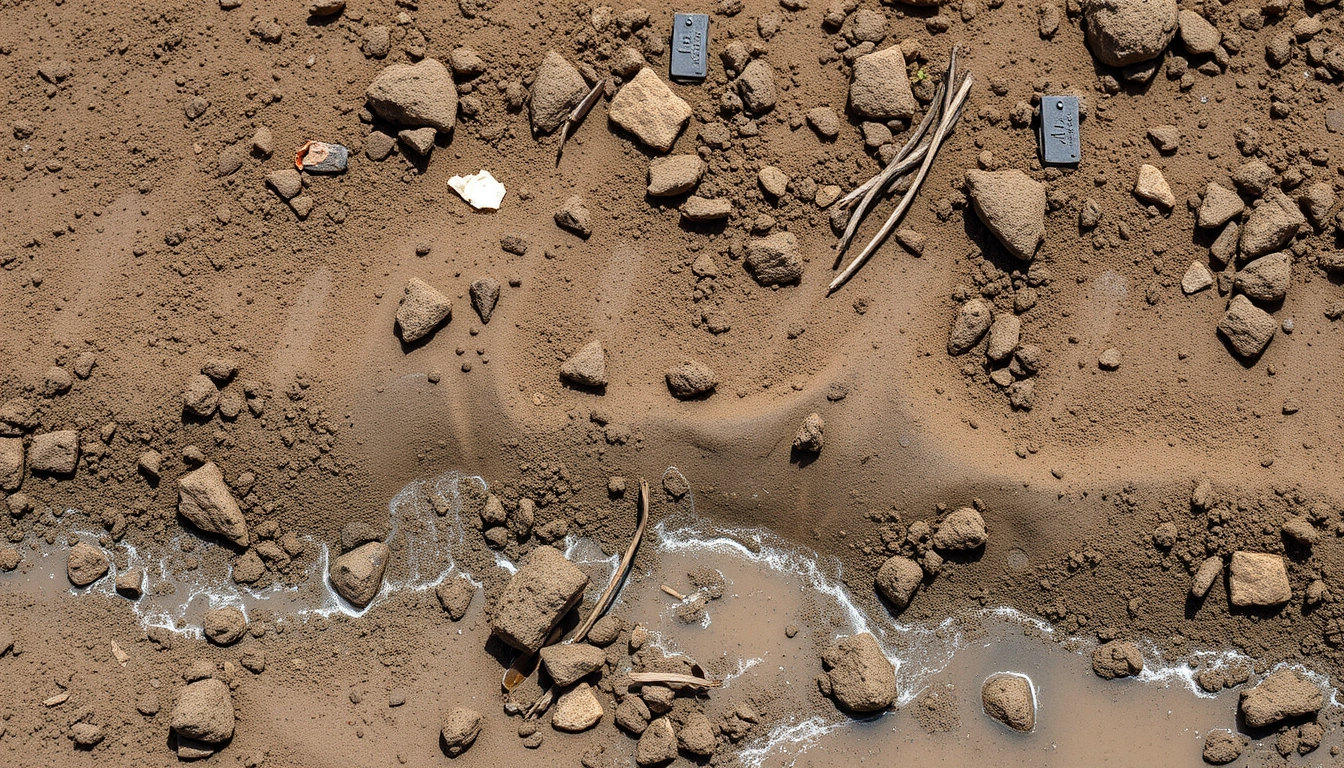
Good mudjacking problems are visible in the first rain, not just on installation day. The slab sits flat, water sheets away from the edge, and the repaired panel does not telegraph a hollow sound when tapped.
Before the repair, the sidewalk often shows a diagonal crack, a lip at the joint, and a shadow line at the low edge. After the repair, the joint should read as one plane, with the concrete surface still matching the surrounding walkway without a hump.
What to look for from six feet away
- The repaired section should not sit proud of the adjacent slab by more than a small transition.
- The crack should not widen after the next freeze-thaw cycle.
- The surface should not trap a puddle at the low edge.
- There should be no fresh spalling around the drill holes.
The best visual clue is the joint line. Notice how a good repair keeps the slab edge aligned without a visible ridge. That is what separates a sidewalk that feels safe from one that turns into a trip hazard again.
A useful benchmark is time. If the sidewalk looks fine after one month but starts moving by the first major storm, the job did not just “age badly.” It likely had a drainage or support problem from the start.
A sidewalk repair that survives one wet season without new movement is a much better sign than a repair that only looks good on the day it is finished.
For readers comparing methods, the polyurethane foam leveling process shows why lighter fill and smaller injection volumes often behave better in repeat-settlement spots.
The detail everyone gets wrong
The detail everyone gets wrong is assuming the slab failed because it was lifted poorly, when the real failure started under the soil. The lift is often fine; the support below it is not.
That distinction matters because it changes the fix. If the sidewalk failed from washout, you need drainage control and probably a different material choice. If it failed from deep consolidation, more mudjacking slurry may only add load without solving the weak layer.
One honest lesson from watching these repairs: I have seen small drainage fixes save a sidewalk that would otherwise have needed a second repair within a year. I have also seen a clean-looking mudjacking job fail after one season because a downspout still dumped 50 gallons of roof water next to the slab every storm.
| Failure clue | Likely cause | Best next move |
|---|---|---|
| Sinks after heavy rain | Washout or drainage issue | Redirect water first, then repair |
| Sinks evenly over time | Soil consolidation | Check subgrade and consider lighter lift method |
| Fails near one edge | Edge erosion or trench settlement | Stabilize the edge and fill voids carefully |
| Cracks re-open quickly | Over-lift or ongoing movement | Re-measure slope and inspect for active moisture |
The question is not “Can mudjacking lift it?” The question is whether the ground under the sidewalk can hold the lift through two rainy seasons and a freeze-thaw cycle. In 2026, that is the better test.
Mudjacking vs. polyjacking for repeat settlement
Polyjacking usually handles repeat settlement better than mudjacking when the site is wet, soft, or prone to washout. Mudjacking can still be fine for stable sidewalks with shallow voids, but its heavier slurry makes it a weaker fit for trouble spots.
The simple reason is load. Mudjacking slurry adds more weight back into a system that already failed under stress, while foam adds far less. That does not make foam magical, but it does make it easier to use on soils that are already struggling.
| Factor | Mudjacking | Polyjacking |
|---|---|---|
| Material weight | 100–120 lb/ft³ | About 2–4 lb/ft³ |
| Best use case | Stable subgrade, modest lift, budget-sensitive repair | Soft soil, recurring settlement, washout-prone areas |
| Risk of added load | Higher | Lower |
| Repeat settlement resistance | Moderate | Usually better |
The better question is not which method is “stronger,” but which one matches the site. For a sidewalk that has already sunk twice, the lighter option often makes more sense than another round of heavy fill.
I also like to look at the process itself, because the injection method matters. The polyurethane foam leveling process uses expansion instead of bulk fill, which means less disruption and less material sitting under a weak panel.
If the same sidewalk has settled more than once, the safer choice is often the method that adds less load, not the method that costs less on day one.
Common Questions About mudjacking problems
What are common mudjacking problems?
The most common mudjacking problems are slab re-settlement, washout, uneven lift, and holes that need repeat patching. The usual causes are heavy mudjacking slurry, poor drainage, and weak subgrade. If the sidewalk sinks again within 6 to 24 months, the repair likely missed the real cause.
How to tell if my mudjacking is failing step by step?
Start by checking whether the slab has dropped at the same edge where it was lifted before. Then look for new cracks, puddles after rain, and a hollow sound when tapped. A change of even 1/4 inch at a joint is enough to signal active movement.
Mudjacking vs polyjacking for durability — which avoids these problems?
Polyjacking usually avoids more repeat-settlement problems because it uses far less weight under the slab. Mudjacking can still work on stable soil, but on wet or soft sites the heavier fill can contribute to re-settlement. The best choice depends on drainage, soil type, and past failures.
Why did my mudjacked slab re-settle and how to fix it permanently?
A mudjacked slab usually re-settles because water is still washing fines out from under it or because the soil was too weak to hold the added load. The permanent fix starts with drainage, then a repair method matched to the site. If the soil stays wet, a lighter material often performs better.
How much does it cost to redo failed mudjacking?
Redoing failed mudjacking often costs more than the first repair because the contractor has to correct the old work, check drainage, and sometimes use a different method. In many markets in 2026, a redo can run from a few hundred dollars for a small panel to well over $1,500 for a larger sidewalk section.
Does mudjacking add too much weight and cause re-settling?
Yes, it can on weak or wet soils. Mudjacking slurry commonly weighs 100–120 pounds per cubic foot, so it adds meaningful load under an already unstable slab. On sound soil, that weight is usually manageable. On soft fill or washout-prone sites, it can contribute to re-settling causes.
- Mudjacking problems usually come from water, weak subgrade, or a fill that adds too much weight back into an already failing area.
- If a sidewalk sinks again within 6 to 24 months, look first at drainage and washout, not just the patch itself.
- Polyjacking is often the better choice for repeat settlement because it adds far less load under the slab.
- The best repair is the one that fixes the cause under the concrete, not only the visible dip.
The Bottom Line
Mudjacking problems are usually a warning that the sidewalk has a support issue, not just a level issue. If the slab has settled more than once, I would stop thinking in terms of “lift it again” and start thinking in terms of drainage, soil stability, and whether a lighter repair method fits the site better.
Pick one thing from this article and try it this week — not all of it, just one: check where water lands after the next rain. If it runs toward the slab, fix that first. Then compare your options in the full Concrete Sidewalk Leveling: Polyjacking, Mudjacking & When to Use Each pillar before spending money on a repair that may just repeat the same failure.
See also: concrete sidewalk leveling
See also: concrete leveling cost sidewalk
See also: is concrete leveling worth it
Related: polyjacking lifespan
Related: cost-benefit leveling
Related: soil settlement sidewalk