concrete sidewalk leveling: foam vs mudjacking, costs, lifespan
⏱️ 15 min read · Last updated: 2026
- ADA trip hazard threshold: a vertical displacement of 1/4 inch or more between adjacent sidewalk sections needs remediation.
- Mudjacking cost: $3–$6 per square foot for sidewalk and flatwork repairs, according to Angi (2026).
- Polyurethane foam leveling cost: $5–$25 per square foot, often up to four times the mudjacking price.
- Mudjacking lifespan: typically 5–10 years before re-settling; polyurethane foam leveling usually lasts longer because it is waterproof and erosion-resistant.
- Concrete leveling usually costs 50%–80% less than full slab replacement.
The worst sidewalk I inspected last spring looked harmless until you caught the edge with a shoe. The slab had settled just 5/8 inch, which was enough to make the walk awkward and the liability real.
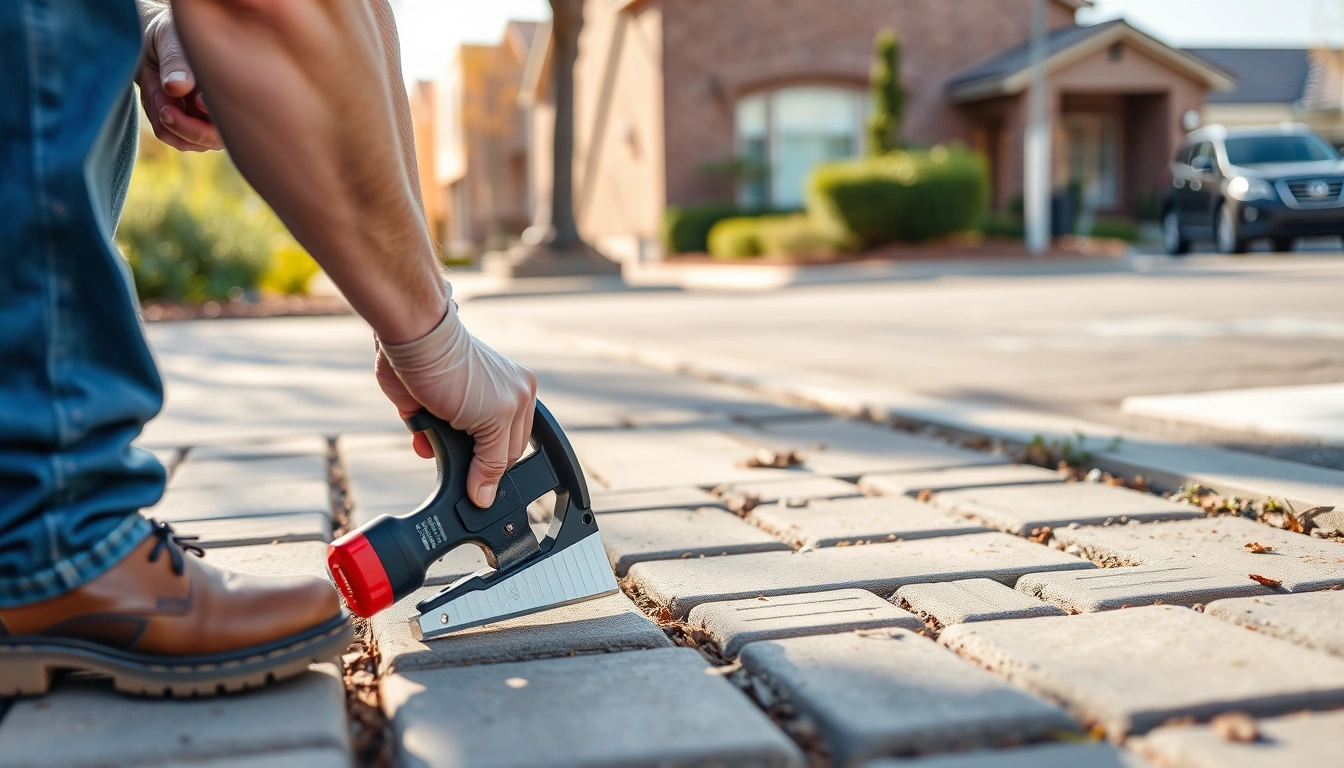
Source: pccnorcal.com
That is the part most people miss with concrete sidewalk leveling: the problem is rarely the crack itself. It is the soil beneath it, and if that subgrade settlement keeps moving, the fix has to match the cause, not just the symptom.
I have seen crews quote $700 for a small lift and nearly $2,400 for the same stretch when the access was poor and the voids were larger than expected. The numbers swing because the method matters, and because the space under the slab matters even more.
How concrete sidewalk leveling actually works, and why the soil decides the result
Concrete sidewalk leveling works by lifting a settled concrete slab back toward grade instead of replacing it. The repair only holds if the crew also addresses the void under the slab and the soil condition that caused the drop.
The lift itself is simple to watch and harder to do well. A technician drills an injection port, pumps material under the slab, watches the edge rise, and stops the moment the walkway lines up with the adjacent panel.
A successful lift leaves the sidewalk even with the neighboring panel, not crowned above it, and the joint should not reopen after the first heavy rain.
| Method | Typical fill material | Best soil condition | Common risk |
|---|---|---|---|
| Mudjacking | Cement-based slurry | Stable, dry subgrade | Added weight can stress soft soil |
| Polyurethane foam leveling | Expanding foam | Wet, eroded, or voided soil | Higher upfront cost |
| Concrete replacement | New slab | Broken or badly deteriorated slab | Longest downtime |
The key detail is the void under the slab. If the crew only lifts without void filling concrete, the sidewalk can settle again when rain washes the base out. That is why some repairs look perfect on day one and fail by the next season.
If you are comparing methods, start with the soil. Clay that shrinks, sandy fill that washes out, and old utility trenches all behave differently. That is why the same sidewalk can need different solutions on two houses on the same block.

What’s the difference between polyjacking and mudjacking a sidewalk?
Polyjacking uses polyurethane foam leveling, while mudjacking uses a cement slurry pumped beneath the slab. Polyjacking is lighter, faster, and better for wet or eroded soils; mudjacking is cheaper and still works well when the base is stable.
The price gap is real. Mudjacking cost for sidewalk work typically runs $3–$6 per square foot, while polyurethane foam leveling usually runs $5–$25 per square foot, according to Angi in 2026.
| Comparison point | Polyurethane foam leveling | Mudjacking |
|---|---|---|
| Typical cost | $5–$25 per square foot | $3–$6 per square foot |
| Weight added under slab | Very light | Heavier slurry |
| Best use case | Active washout, wet soil, hard-to-dry areas | Budget repairs on sound base |
| Typical lifespan | Longer-lasting, especially in moisture-prone areas | 5–10 years before re-settling |
| Walkable time | Usually within minutes to an hour | Often the same day, but slower than foam to fully settle |
Here is the practical rule I use. If the sidewalk sits over a downspout line, a driveway edge, or a section that gets soggy after storms, polyurethane foam leveling usually makes more sense. If the slab has minor settlement and the base is otherwise dry, mudjacking can be the economical move.
PolyLevel injection is a branded polyurethane foam approach, and it is often chosen where weight matters, access is tight, or water keeps reopening the void.
There is one more cost angle. Concrete leveling often saves 50%–80% versus full replacement, according to The Concrete Hero in 2025, but that savings only matters if the slab is still worth saving. Once a panel is shattered, replacement is the cleaner call.
The correct way to level a sidewalk, step by step
The correct process is methodical: diagnose the cause, confirm the slab can be saved, then lift slowly and check the joint after the material cures. Rushing the lift is how crews create new lippage or snap a good slab at the control joint.
- Measure the height difference between panels. Check whether the offset is 1/4 inch or more, and do not guess by eye.
- Map the settled area. Check the low edge, nearby cracks, and drainage path, and do not level only the most visible corner.
- Probe for hollow spots. Check for voids by tapping or test drilling, and do not assume the slab is fully supported.
- Choose the lift material. Check soil moisture and washout history, and do not use the cheapest method if the base keeps eroding.
- Drill the injection ports. Check spacing and placement near the low areas, and do not drill so many holes that the slab looks pocked.
- Inject gradually. Check the panel edge as it rises, and do not chase perfection in one pass.
- Patch and finish. Check that the plug sits flush and the surface drains away from the walk, and do not leave a high spot that creates a new trip hazard.
The visual clue I look for is the joint line after the lift. Good concrete sidewalk leveling leaves a smooth transition that you can feel with your shoe, not a ridge you notice with every step. If the slab is lifted too high, the repair becomes its own hazard.
| Checkpoint | Good result | Bad result |
|---|---|---|
| Edge height | Nearly flush with adjacent panel | More than 1/4 inch mismatch |
| Drainage | Water sheds away from the slab | Water pools along the joint |
| Surface finish | Ports patched cleanly | Open holes or messy patching |
| Follow-up movement | No visible drop after rain | Edge settles within weeks |
One clean way to organize the decision is to compare the repair with the rest of your sidewalk work. For broader budgeting, our sidewalk repair cost breakdown helps separate lifting, grinding, and replacement.

Before vs. after: what good concrete sidewalk leveling actually looks like
Good concrete sidewalk leveling is obvious once you know what to inspect. The panels line up, water drains away, and the repaired slab does not rock when you step near the edge.
Before the repair, you usually see a dark gap, a tilted joint, or a lip that catches a wheel or toe. After the repair, the slab should look boring. That is the goal.
A clean repair is one where the eye stops noticing the sidewalk after the first minute because the joint, slope, and surface all read as normal.
What to look for in a finished sidewalk
- The height difference between adjacent panels is gone or reduced below the trip threshold.
- The surface still drains away from the home, not toward it.
- The patched injection port is flush and not crumbling.
- No fresh cracking has appeared at the control joint.
Before-and-after photos can be misleading if they are shot from standing height. The better test is a low angle along the sidewalk edge, because that is where you will see whether the lift is flat or crowned. If you can spot the mismatch from three houses away, the job is not finished well.
For trip-risk decisions, our sidewalk leveling for trip hazards page helps you tell the difference between an annoying cosmetic lip and a real hazard that needs immediate remediation.
Is concrete leveling worth it for a sunken sidewalk?
Yes, concrete leveling is worth it when the slab is still intact, the settlement is localized, and replacement would waste usable concrete. It is usually the best balance of cost, speed, and liability reduction for ordinary sidewalk panels.
The biggest reason is cost. Concrete leveling typically costs 50%–80% less than full concrete slab replacement, which makes it a strong option when the slab has dropped but not broken apart. That matters on long residential runs where each panel would otherwise become a replacement project.
- A small sidewalk lift may be a few hundred dollars; a larger, access-heavy repair can climb into the low thousands.
- Mudjacking cost is lower upfront, but polyurethane foam leveling often lasts longer in wet conditions.
- Replacement becomes the better value when the slab is broken, undersized, or already patched multiple times.
There is also a liability angle that people ignore until something happens. Falls account for 32% of all nonfatal injuries in the U.S., according to the National Safety Council, and over 10,000 ADA lawsuits are filed annually in the U.S., with a single trip-and-fall settlement potentially exceeding $100,000.
If you manage property, that is not abstract. It is the difference between a scheduled repair and a claim letter. For rules and measurement thresholds, see our trip hazard removal guide.
The answer changes only in a few cases. If the slab is shattered, if tree roots keep lifting it, or if drainage is destroying the base from below, leveling is a temporary patch. In those cases, replacement or redesign is smarter.
The detail everyone gets wrong
The detail everyone gets wrong is the cause of the settlement, not the visible dip. Crews can lift a slab in 20 minutes and still fail if they ignore the drainage, soil type, or old utility trench underneath.
That mistake shows up later as re-settlement near the same seam. I have seen jobs where the front edge looked perfect after the repair, but the back edge sank again after one rainy month because the downspout still dumped there.
For concrete sidewalk leveling, the under-slab void matters as much as the lift. That is why void filling concrete is not a side note; it is the repair.
- Trace water movement first. Check roof runoff, sprinklers, and low spots, and do not start drilling until you know where the water goes.
- Confirm soil type. Check whether the base is clay, sand, or mixed fill, and do not use the same fix for every yard.
- Look for repeated settlement. Check whether the same joint has moved before, and do not treat repeat movement as a one-time event.
- Match the material to the moisture. Check for wet subgrade, and do not choose a heavy slurry where washout is active.
- Plan for access. Check hose reach, landscaping, and utility lines, and do not assume the crew can work from one angle.
- Inspect the finish after rain. Check whether the joint stays level, and do not close the job before one weather cycle passes.
That lifespan gap is why I push people to think in seasons, not just invoice totals. A cheap repair that fails in six years is not always cheaper than a pricier one that holds through storms and freeze-thaw cycles.
If the crew recommends grinding instead of lifting, compare the edge height first. Our concrete grinding trip hazard article explains when grinding makes sense and when it only hides a deeper settlement problem.
How long does polyurethane sidewalk leveling last?
Polyurethane sidewalk leveling usually lasts longer than mudjacking, especially where water and erosion caused the failure. In the real world, the foam resists washout because it is waterproof, so it tends to hold its height better over time.
There is no honest universal lifespan number for every job, but the practical comparison is clear. Mudjacking often lasts 5–10 years before re-settling, while polyurethane foam leveling is the better long-term bet in wet or unstable ground.
The curing speed is another reason homeowners like it. Polyurethane foam leveling is often walkable within minutes to an hour, while mudjacking usually takes longer to settle and finish cleanly, even when the crew can complete the lift the same day.
If a sidewalk gets heavy foot traffic, weekend visitors, or frequent rain exposure, the longer-lasting method often pays for itself by avoiding a second mobilization.
What I watch for after a foam repair is simple: no new gap at the joint, no soft spot underfoot, and no fresh tilt after the first hard rain. If any of those return quickly, the crew likely lifted over an untreated void or missed the water source.
PolyLevel injection is one brand in this category, and it matters less that the name is famous than that the installer knows the ground conditions. Good material cannot rescue a bad diagnosis.
Common questions about concrete sidewalk leveling
What's the difference between polyjacking and mudjacking a sidewalk?
Polyjacking uses polyurethane foam leveling, which is light and water-resistant. Mudjacking uses a cement slurry, which costs less at $3–$6 per square foot but can re-settle sooner. Polyjacking usually fits wet soil, while mudjacking fits stable, drier bases.
Is concrete leveling worth it for a sunken sidewalk?
Yes, if the slab is structurally sound and the settlement is localized. Concrete leveling usually costs 50%–80% less than replacement, so it is often the cheapest way to remove a trip hazard without tearing out usable concrete.
How long does polyurethane sidewalk leveling last?
It usually lasts longer than mudjacking, especially where water caused the settlement. Because the foam is waterproof and erosion-resistant, it tends to hold up better in wet soil and along drainage paths that would wash out heavier slurry.
How soon can I walk on a leveled sidewalk?
Polyurethane foam leveling is often walkable within minutes to an hour. Mudjacking is also usually a same-day repair, but the crew may keep traffic off the slab longer while the slurry stabilizes and the finish patch cures cleanly.
When should a sidewalk be replaced instead of leveled?
Replace it when the slab is badly broken, heavily patched, or still moving because the base is failing. Leveling works best on intact concrete slab sections with localized settlement, not on panels that are crumbling or crushed by roots.
How do I know if my sidewalk is a trip hazard?
Measure the vertical displacement where one panel meets the next. If the difference is 1/4 inch or more, the ADA treats it as a trip hazard. That is the point where concrete sidewalk leveling stops being cosmetic and starts being a safety fix.
- Mudjacking is cheaper upfront, but polyurethane foam leveling usually lasts longer in wet or eroding soil.
- A 1/4-inch vertical offset can trigger ADA trip-hazard concerns.
- Concrete leveling often costs 50%–80% less than full replacement.
- The soil and drainage problem matter more than the visible crack.
The bottom line
concrete sidewalk leveling is worth doing when the slab is still salvageable, the settlement is local, and the real issue is below the surface. My rule is simple: choose mudjacking when the base is dry and the budget is tight; choose polyurethane foam leveling when water, washout, or repeat settlement is part of the story.
If the edge difference is 1/4 inch or more, do not ignore it. Measure the worst joint, photograph it, and get one estimate for lifting before you price replacement. Pick one thing from this article and try it this week — not all of it, just one.
See also: sidewalk repair
See also: trip hazard removal
See also: sidewalk leveling for trip hazards
Related: polyjacking vs mudjacking
Related: concrete leveling cost sidewalk
Related: is concrete leveling worth it