Concrete grinding trip hazard: The exact limit before it stops working
⏱️ 8 min read · Last updated: 2026
- Typical concrete grinding removes a raised edge in minutes, not hours; one sidewalk hazard often takes about 10 to 30 minutes, depending on thickness and access.
- A common grind profile targets about a 1:2 to 1:4 slope, which means the transition runs 2 to 4 inches horizontally for every 1 inch of vertical drop.
- The practical max displacement grindable inches is usually about 1/2 inch to 3/4 inch on a sidewalk edge, before grinding stops being the cleanest fix.
- A tight, clean beveled transition is the goal; if the edge needs a longer ramp than the panel allows, repair or replacement is usually the better call.
- On many jobs, a diamond grinder removes enough material that the repaired edge looks obvious up close but disappears from normal walking distance.
The crack was not dramatic. It was just high enough to catch a toe at dusk, which is exactly how a concrete grinding trip hazard turns from a nuisance into a liability. On the first pass I ever watched, the crew shaved a sidewalk lip in under 20 minutes and left a visible, neat bevel instead of a broken edge.
The hard part is knowing when that fix is the right one. Grinding is fast and relatively cheap, but it only works when the vertical displacement is small enough that the finished grind profile stays practical. Once the gap gets bigger, the slope gets longer, and the repair starts to look like a ramp that should have been a replacement.
That trade-off matters in 2026 because labor is expensive and sidewalk complaints move fast. I have seen estimates where grinding solved a single edge for a few hundred dollars, while full panel repair jumped into four figures. If you want the rules behind that choice, the local trip hazard removal rules matter as much as the tool choice.
How concrete grinding actually removes a trip hazard
Concrete grinding removes a trip hazard by shaving the higher slab down until the edge becomes a controlled slope instead of a sudden step. The tool does not lift the low slab, fill the joint, or disguise the problem; it changes the high side so the foot meets a beveled transition instead of a square lip.
The tool that does the work is a diamond grinder, usually a walk-behind or handheld unit fitted with a diamond cup wheel or segmented wheel. The first thing I check is the grind profile: if the crew is producing a short, even taper, the repair looks intentional; if the edge is jagged or scalloped, the hazard may be reduced but the finish will still feel rough underfoot.
| Field check | What good looks like | What to avoid |
|---|---|---|
| Edge shape | Smooth, even beveled transition | Wavy, chipped, or stepped edge |
| Feel underfoot | Foot rolls across the edge cleanly | Toe still catches on a lip |
| Visual line | Short, obvious taper near the joint | Long grind that eats too much slab |
A standard sidewalk grind usually aims for a shallow bevel, not a perfect cosmetic blend, because the real job is reducing the vertical displacement enough that a foot no longer catches.
ADA trip hazard height threshold is the first number I check before anyone starts grinding. The right threshold drives the method, and the method drives whether the fix will last or just look neat for a month.
When is a trip hazard too tall to just grind down?
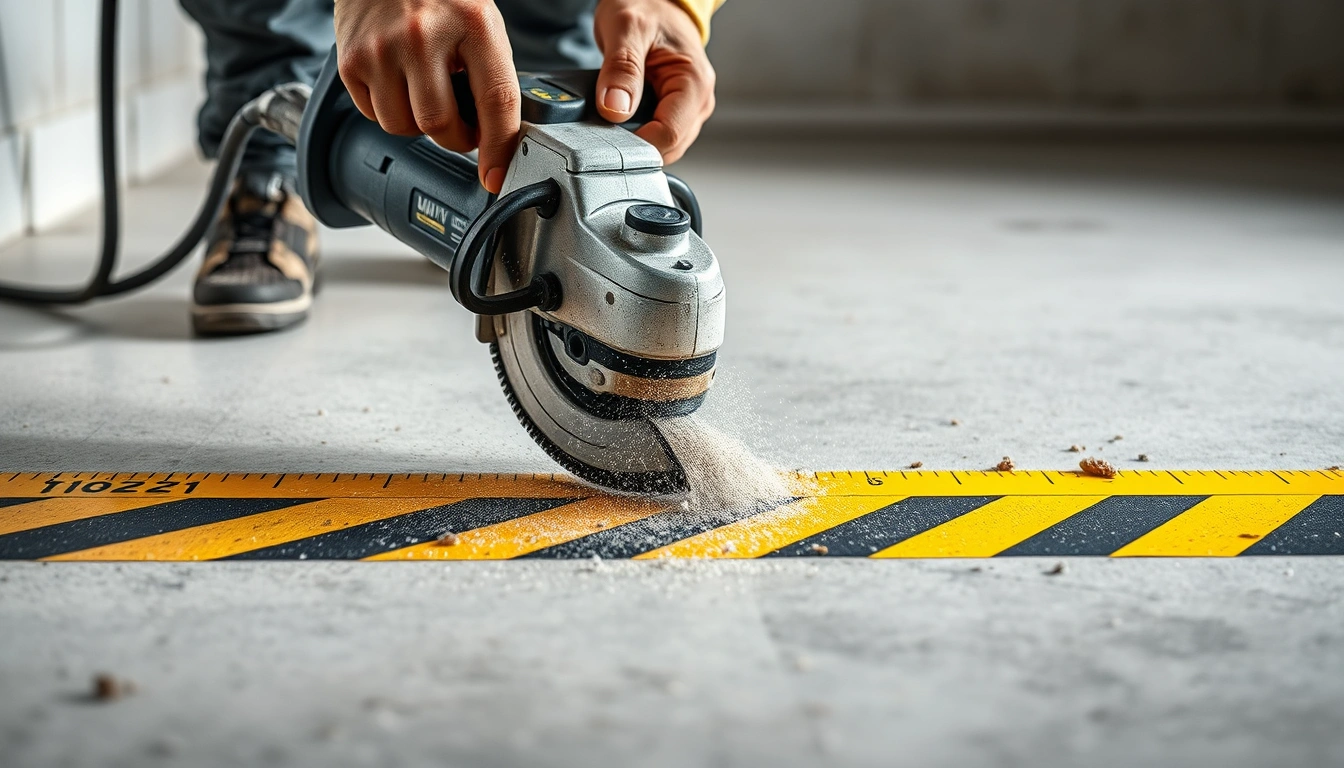
A trip hazard is too tall to just grind down when the remaining slope becomes too long, the slab edge is too weak, or the displacement exceeds the practical max displacement grindable inches. In most sidewalk cases, grinding is the right move for roughly 1/2 inch to 3/4 inch of vertical displacement; beyond that, the taper gets harder to justify.
The reason is simple geometry. If you try to turn a 1-inch lip into a gentle slope, the repair needs much more horizontal run than a sidewalk panel usually gives you. That is where the displacement grind limit shows up in real life: not as a rule that says “never,” but as the point where the finished surface stops looking like a tidy edge correction and starts looking like a compromise.
If the concrete is spalled, cracked through, or already breaking at the joint, grinding can make the corner weaker. That is when sidewalk repair or replacement often beats a bigger grind. For a cost comparison, see the current trip hazard removal cost page and the related sidewalk repair breakdown.
Quotable line: In most sidewalk work, concrete grinding stops being the best fix somewhere above 3/4 inch of vertical displacement.
The correct way to grind a sidewalk edge — step by step
The correct way to grind a sidewalk edge is to measure first, set the target slope, and remove material in controlled passes. Good crews do not chase the lowest point blindly; they build the beveled transition so the edge stays predictable and the slab does not chip apart.
- Measure the vertical displacement at the worst point. Check the edge in more than one spot. Do not guess from one visual angle.
- Mark the intended grind profile with chalk. Check whether the slope will fit the panel width. Do not start a grind that needs more run than the slab can give.
- Set up the diamond grinder with the correct wheel and dust control. Check that the tool tracks straight. Do not use a worn wheel that chatters and tears the surface.
- Make the first pass shallow. Check for fresh, even material removal. Do not try to remove the full height in one aggressive pass.
- Recheck the transition with your hand and a straightedge. Check for a smooth taper and no remaining toe-catching lip. Do not stop while a sharp corner still exists.
- Refine the bevel in short passes. Check that the surface stays even from end to end. Do not overgrind one spot and create a dip.
- Clean the dust and inspect the final edge in daylight. Check for loose aggregate or a cracked corner. Do not leave a rough edge that looks finished only from five feet away.
The key here is the first pass. It tells you whether the concrete is sound enough for concrete grinding or whether the surface starts to crumble. I have watched a 15-minute job turn into a replacement recommendation because the top layer flaked off as soon as the wheel touched it.
| Typical job parameter | Common range in 2026 | Why it matters |
|---|---|---|
| Time per hazard | 10 to 30 minutes | Shows whether grinding is a quick maintenance fix or a labor-heavy repair |
| Slope produced | About 1:2 to 1:4 | Tells you how much horizontal space the bevel will consume |
| Best use | Small lips and clean slab edges | Keeps the fix within the practical displacement grind limit |
What does a ground-down sidewalk edge look like before and after?
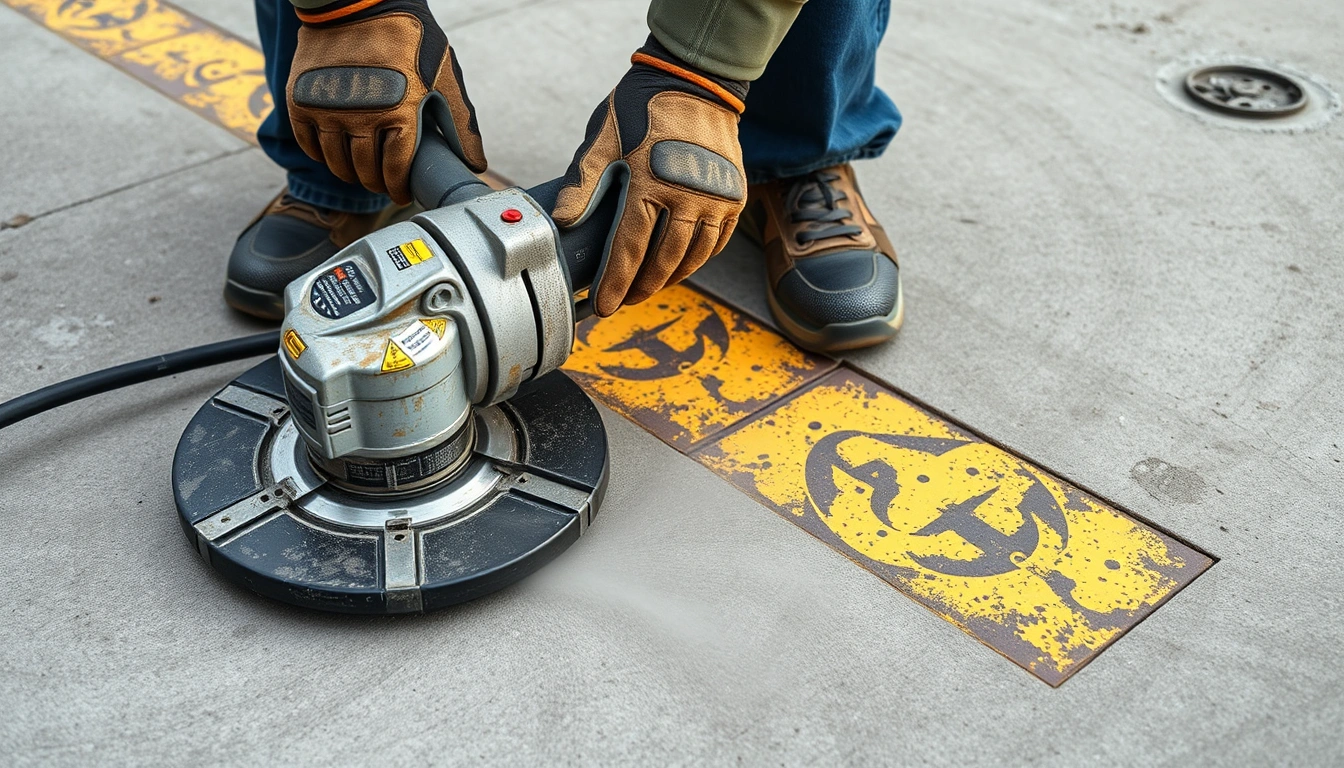
Before concrete grinding, the hazard usually looks small but feels sharp: a square edge, a chipped corner, or a visible lip that casts a hard shadow. After grinding, the same edge should look like a short, clean taper with no abrupt step where a shoe heel or cane tip can catch.
The best visual cue is the line of light along the edge. Before, the shadow breaks suddenly at the lip. After, the transition should fade gradually. That is the difference between a true beveled transition and a patch job that only looks fixed from across the street.
If you want the simplest mental picture, think of a pencil tip versus a blunt crayon edge. The repair is not supposed to disappear completely; it is supposed to remove the sharpness. On a good day, the grind profile looks boring. That is the goal.
A successful grind is usually visible when you look for it, but not obvious when you walk on it.
The photo below is the kind of shot I would take on every job: a side angle, one close-up, and one full-panel view. That trio tells you whether the edge was softened correctly or merely scuffed. 
trip hazard removal rules often care more about the measured edge than the cosmetic finish. That is why a neat-looking edge can still fail if the vertical displacement remains too high.
The part that changes everything: cost, time, and where grinding fits
Concrete grinding is usually the fastest fix for a small sidewalk lip, and that speed is what keeps it attractive. For one hazard, the labor is often measured in minutes, not days, which is why it can beat full replacement when the slab is otherwise sound.
The trade-off is durability and scale. Grinding can solve an isolated edge, but it does not repair settlement, voids, or widespread heaving. If the walkway is moving, the bevel may buy time but it will not solve the cause. That is when the conversation shifts from a diamond grinder to structural sidewalk repair.
The most honest cost rule I use is this: if the trip hazard is isolated and the edge is intact, grinding is often the cheapest clean fix. If the slab is cracked, rocking, or badly offset, the cheaper quote can become the expensive mistake. The next page to compare is sidewalk repair, because the repair method changes the long-term bill.
| Method | Best for | Main downside |
|---|---|---|
| Concrete grinding | Small raised edges | Limited by displacement grind limit |
| Partial sidewalk repair | Cracked or broken panels | More labor, more downtime |
| Full replacement | Widespread failure | Highest cost and longest disruption |
The detail everyone gets wrong
The detail everyone gets wrong is assuming the tallest point is the only thing that matters. In concrete grinding, the surrounding panel width, edge strength, and final slope matter just as much as the measured bump.
I made this mistake once on a very small job: the edge looked like a perfect candidate for grinding, but the slab had a hidden crack running back from the joint. The first pass exposed weak concrete, and the “simple” fix became a decision point about whether the panel could survive traffic. That is why the surface has to be tested, not just measured.
Another common mistake is grinding too aggressively to make the repair disappear. A too-steep pass can leave chatter marks, a dusty look, or a lip that still catches shoes. A better outcome is an obvious repair that feels smooth underfoot, not a cosmetic blur that fails the foot test.
What to watch for on-site
- Edge chips wider than the intended bevel.
- Dusty, powdery concrete that indicates weak paste.
- A grind profile that runs too long for the panel width.
- Visible rocking, which means grinding is treating the symptom, not the cause.
trip hazard removal decisions should always follow the condition of the slab, not just the height of the lip. That is the part crews skip when they are rushing.
Common Questions About concrete grinding trip hazard
What is concrete grinding for a sidewalk trip hazard?
Concrete grinding for a sidewalk trip hazard means removing the high side of a slab with a diamond grinder so the edge becomes a beveled transition instead of a sharp lip. It is best for small vertical displacement, usually around 1/2 inch to 3/4 inch.
How do you grind down a sidewalk trip hazard step by step?
Measure the lip, mark the target slope, grind in shallow passes, and check the edge after each pass. The goal is a smooth, even bevel with no toe-catching step. Most small hazards take about 10 to 30 minutes, plus cleanup.
When is a trip hazard too tall to just grind down?
When the vertical displacement is above roughly 3/4 inch, grinding often creates a slope that is too long for a normal sidewalk panel. If the concrete is cracked or weak, replacement or partial sidewalk repair is usually the better fix.
What does a ground-down sidewalk edge look like before and after?
Before, the edge usually has a hard lip, a shadow line, or a chipped corner. After, it should show a short, clean bevel that rolls underfoot instead of catching it. The best repair looks plain, not polished.
How much does concrete grinding cost per trip hazard?
Pricing varies by access, location, and how many hazards you have. In 2026, a small isolated grind is often far cheaper than replacement, but setup and cleanup still affect the bill. For a practical comparison, review the current trip hazard removal cost details.
Why does my ground sidewalk still feel uneven and how do I fix it?
A sidewalk can still feel uneven if the grind profile is too short, the edge is chipped, or the low slab is moving. The fix may be a wider bevel, edge patching, or a different repair method. If the slab rocks, grinding will not solve the base problem.
- Concrete grinding is best when the sidewalk lip is small, sound, and easy to turn into a short beveled transition.
- The practical limit is usually around 1/2 inch to 3/4 inch of vertical displacement.
- A good grind profile is visible up close, smooth underfoot, and finished without a sharp toe-catching edge.
- If the slab is cracked, rocking, or needs a long ramp, grinding is probably the wrong fix.
The bottom line
Concrete grinding trip hazard repair is the right move when you need a fast, clean reduction in a small sidewalk lip and the slab is still sound. It is not the answer for every raised edge, and that is the part worth remembering. If the displacement is already pushing the practical limit, choose repair or replacement instead of forcing a long bevel that still feels wrong.
Pick one thing from this article and try it this week — not all of it, just one: measure the worst lip on your sidewalk and compare it to the typical 1/2 inch to 3/4 inch grindable range. If you want the bigger liability picture, keep the pillar open here: Trip Hazard Removal: ADA Thresholds, Methods & Liability.
See also: trip hazard removal
See also: trip hazard removal cost
See also: ADA trip hazard height threshold
Related: trip and fall liability sidewalk
Related: sawcut displacement
Related: hazard severity rating