Trip hazard removal cost in 2026: grinding vs replacement
⏱️ 8 min read · Last updated: 2026
- Grinding cost per hazard is commonly $150–$450 in 2026 when the uplift is narrow and accessible.
- Sawcut removal price per hazard is commonly $300–$900 when the section is cut out, removed, and patched or replaced.
- Per-section pricing usually becomes more efficient after 5–10 sections, where contractors often apply a volume repair discount.
- Trip hazard removal is usually faster with concrete grinding, which can often be completed in hours rather than days.
- Replacement is usually the highest-cost option because it includes demo, haul-off, base prep, forming, and new concrete.
The crack at the sidewalk panel edge is usually not the expensive part. The expensive part is deciding whether a one-inch lip needs concrete grinding, sawcutting, or full sidewalk leveling, because trip hazard removal cost changes fast once labor, access, and cleanup enter the bid.
I have seen the same 12-foot section quoted at $220 for grinding and $1,480 for removal and replacement. That spread is normal in 2026, and it is why a quote that looks high on paper can still be the cheaper fix over five years if the slab keeps heaving.
The real question is not “what is cheapest today?” It is “what stops the lip from coming back at the lowest total cost,” and that answer depends on the slab condition, the number of hazards, and whether the contractor is pricing per-section pricing or the whole property.
How grinding cost per hazard actually works
Grinding cost per hazard is usually the lowest upfront price because the contractor removes the high edge instead of replacing the slab. For a typical sidewalk lip under about 1 inch, concrete grinding is commonly priced at $150–$450 per hazard in 2026.
The key here is the shape of the defect — notice how a long, narrow lip is much easier to grind than a broken corner with spalling. That is what separates a fast, clean correction from a quote that creeps into replacement territory.
- Measure the vertical difference at the trip point.
Check: the highest point relative to the adjoining slab.
Do not: estimate by eye from standing height. - Look at the width of the uplift or lip.
Check: narrow, continuous edges are grinding-friendly.
Do not: assume a wide shattered area can be ground safely. - Confirm access for a handheld grinder or walk-behind unit.
Check: fences, cars, planters, and tight turns.
Do not: accept a price without asking how the crew reaches the section. - Inspect the finish after grinding.
Check: the transition should feel smooth underfoot and not catch a shoe.
Do not: accept jagged edges or a slope that still “snags.” - Ask whether dust control is included.
Check: vacuum attachment or wet grinding setup.
Do not: ignore cleanup, because it changes the real labor cost. - Ask whether the quote is per hazard or minimum service call.
Check: some contractors charge a 2- or 3-hazard minimum.
Do not: compare one-hazard pricing against a multi-hazard bid without adjusting for minimums.
A typical one-hazard grinding quote in 2026 lands in the $150–$450 range, but the minimum service charge can matter more than the unit price.
If you need the technical rules behind the work, the federal threshold guidance on ADA trip hazard height threshold is the first thing I check before comparing repair methods. It keeps you from paying for cosmetic work when the real problem is a legal-height issue.

How sawcut removal price is built
Sawcut removal price is higher because the contractor is not just shaving a lip; the crew is cutting out the damaged panel, removing debris, and rebuilding the section. In 2026, sawcut removal per hazard is commonly $300–$900, and it can run higher when base repair or matching existing concrete is difficult.
Seen from the street, this is the method that looks most like a “real repair.” The edge is cut straight, the failed section comes out, and the replacement section is shaped to blend better than a ground edge ever will. The trade-off is time, saw noise, haul-off, and more labor.
| Method | Typical 2026 cost per hazard | Best for | Main trade-off |
|---|---|---|---|
| Concrete grinding | $150–$450 | Small lips, quick fixes | Removes height, not the underlying slab movement |
| Sawcutting and replacement | $300–$900 | Broken panels, severe edge damage | More labor, more cleanup, higher base cost |
| Sidewalk leveling | Often $500+ per section | Settled slabs with voids below | Not every contractor can do it well |
A good bid usually spells out sawcut width, replacement thickness, and cure time. That matters because a vague line item like “sidewalk repair” can hide everything from a cosmetic patch to a full panel replacement, and the pricing gap is huge. For broader method comparisons, I also keep a running reference to sidewalk repair options before approving work.
For homeowners and managers comparing trip hazard removal methods, the cheapest route is not always the best value. The better question is whether the section is broken, settled, or just lifted at one edge.
What whole-property pricing really changes
Whole-property pricing usually lowers the cost per hazard because mobilization, setup, and cleanup get spread across more sections. In practice, the contractor may quote one hazard at a retail rate, then cut that price once the job reaches 5 to 10 sections.
This is where per-section pricing matters. A 2-hazard job might be priced at full minimums, while a 12-hazard property can trigger a volume repair discount that trims 10%–25% off the unit rate, especially if the crew can stay on one site for half a day or more.
- Count every hazard on the property.
Check: front walk, curb ramps, common paths, rear entries, and parking approaches.
Do not: only count the worst two sections. - Group hazards by method.
Check: grinding candidates, sawcut candidates, and replacement candidates.
Do not: ask for one blended price across dissimilar work. - Ask for a per-section pricing sheet.
Check: unit price, minimum charge, and any mobilization fee.
Do not: accept only a lump sum with no breakdown. - Ask where the volume repair discount starts.
Check: the threshold in sections, not just dollars.
Do not: assume a larger project automatically gets a discount. - Request labor and material separation.
Check: saw blades, patch material, haul-off, and disposal.
Do not: accept “miscellaneous” as a catch-all line. - Compare the final totals, not just the unit prices.
Check: the cheapest single section is not always the cheapest property-wide quote.
Do not: ignore minimums and trip charges.
For larger jobs, the right quote often changes after 5 to 10 sections because mobilization gets spread out and the unit price falls.
That threshold is one reason whole-property pricing can beat “cheap” individual bids. If a school, apartment, or retail center has 8 to 15 hazards, the contractor’s setup cost stops being the main driver, and the real savings come from coordinated work on one route. Ask for a written volume repair discount so you can compare apples to apples.
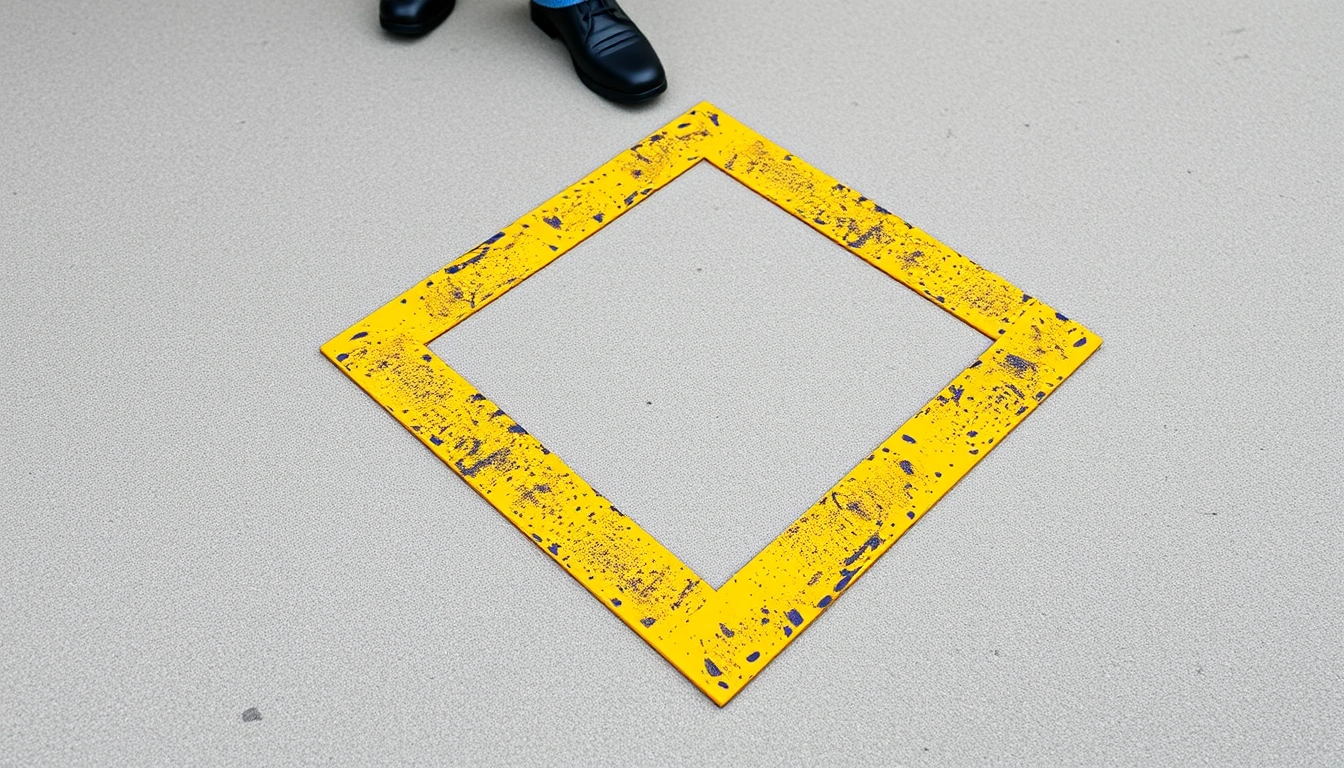
Before vs. after: what good trip hazard removal cost actually looks like
Good trip hazard removal cost looks boring on paper and clean on site. The quote shows the method, the section count, and the finish standard; the repair itself ends with a smooth transition, no loose aggregate, and no visible catch point underfoot.
Bad pricing usually hides one of two problems: the contractor is underbidding to win the job, or the scope is too vague to be useful. I have watched a “low” quote balloon after the crew arrived and found more broken edges than the salesperson counted from the truck.
| What you see | Good quote | Red flag |
|---|---|---|
| Pricing format | Per hazard or per-section pricing | One vague lump sum |
| Method detail | Grinding, sawcutting, or replacement named clearly | “Repair sidewalk” with no scope |
| Cleanup | Dust control and haul-off included | Cleanup listed as extra |
| Section count | Every hazard counted | Only the biggest lips counted |
If you are comparing options from scratch, a job that starts with grinding and ends with replacement is not a bad bid; it is usually a sign that the contractor looked closely. That is more trustworthy than a flat promise of “the lowest trip hazard removal cost” with no photos, measurements, or section count.
The cleanest quote is usually the one that names the method, counts the sections, and separates mobilization from labor.

How to estimate a quote without getting burned
You can estimate trip hazard removal cost by counting hazards, sorting them by method, and checking whether the contractor prices by section or by property. That simple breakdown gets you much closer to a real number than asking for “a ballpark” and hoping for the best.
The cleanest estimate starts with photographs and a tape measure. Measure the height difference, mark the number of sections, and note anything that blocks access. Those three details usually determine whether you are looking at concrete grinding, sawcutting, or sidewalk leveling.
- Walk the property and mark every trip point.
Check: chalk, tape, or photo annotations.
Do not: rely on memory after the inspection. - Measure the vertical offset at each hazard.
Check: the highest lip in inches.
Do not: round down small but legal-risky differences. - Sort each hazard by likely repair method.
Check: grind, sawcut, or replace.
Do not: put every defect in one bucket. - Count the total section number.
Check: how many separate panels or repair zones.
Do not: confuse linear feet with individual hazards. - Request at least two bids with the same scope.
Check: same photos, same section count, same access notes.
Do not: compare a precise bid with a vague one. - Ask for the break point on volume repair discount.
Check: how many sections trigger the lower rate.
Do not: assume the discount applies automatically.
For a deeper look at the repair choices behind the numbers, the cost drivers in sidewalk repair are what usually move a bid up or down in 2026. Access, disposal, and the number of sections matter more than the square footage most people guess.
I made the same mistake years ago: I compared one grinding quote against one replacement quote without standardizing the scope. The cheaper number was not cheaper once the contractor added minimum labor, so now I always ask for per-section pricing first.
How much does it cost to remove a sidewalk trip hazard?
How much does it cost to remove a sidewalk trip hazard? In most cases, the answer is $150–$450 for concrete grinding and $300–$900 for sawcut removal per hazard in 2026.
The lower number usually applies when the lip is small, the slab is stable, and the crew can work without major setup. The higher number shows up when the repair needs cutting, haul-off, patching, or matching a larger section.
Is grinding down a trip hazard cheaper than replacing the slab?
Yes, grinding is usually cheaper than replacing the slab, often by several hundred dollars per hazard. Grinding is the budget choice when the slab is sound and the problem is mainly the raised edge, while replacement makes more sense when the concrete is broken, settled, or repeatedly moving.
That said, the cheapest repair today is not always the cheapest over time. If the slab keeps lifting, replacement or sidewalk leveling can save you from paying twice.
What’s the cost per trip hazard for a whole property?
For a whole property, the cost per trip hazard often drops once you have enough sections to justify a crew day. A realistic volume repair discount usually starts somewhere around 5 to 10 sections, with larger sites getting better per-section pricing than one-off repairs.
That discount is not automatic, though. You need the contractor to separate mobilization, labor, and materials so the property-wide number is actually comparable.
Common Questions About trip hazard removal cost
What does trip hazard removal cost for a single sidewalk panel?
A single panel repair usually falls into two bands: $150–$450 for grinding and $300–$900 for sawcut removal in 2026. The deciding factor is whether the edge is just raised or whether the panel is cracked, broken, or badly displaced.
How do I estimate trip hazard removal for a whole property step by step?
Count every hazard, measure the lip height, group sections by method, and ask for a per-section pricing sheet. Then ask where the volume repair discount starts, because many contractors lower unit costs once the job reaches 5 to 10 sections.
Grinding vs replacement for trip hazards — which costs less?
Grinding almost always costs less upfront, often by $200 or more per hazard. Replacement costs more because it includes sawcutting, removal, base prep, new concrete, and cleanup. Use grinding for stable slabs; use replacement for failed panels.
Why did my trip hazard quote come in high and how can I reduce it?
High quotes usually come from minimum charges, travel time, access problems, or too few sections to spread setup costs. You can often reduce the price by bundling more sections, standardizing the scope with photos, and asking for a volume repair discount in writing.
How much does trip hazard removal cost per section in 2026?
Per-section pricing in 2026 commonly starts around $150–$450 for grinding and $300–$900 for sawcut removal, then drops for larger properties. The best way to compare bids is to separate the unit price from mobilization so the discount is real.
- Grinding is usually the cheapest fix, with a typical grinding cost per hazard of $150–$450 in 2026.
- Sawcut removal price is usually higher, commonly $300–$900 per hazard, because it includes demo and rebuild work.
- Whole-property pricing gets better when the contractor can spread setup across 5 to 10 sections or more.
- The best bid names the method, counts the sections, and shows any volume repair discount in writing.
The Bottom Line
Trip hazard removal cost is easiest to control when you stop comparing vague quotes and start comparing sections, methods, and access. For most properties in 2026, concrete grinding is the low-cost fix, sawcutting is the stronger repair for damaged panels, and whole-property pricing becomes attractive once several sections are bundled together.
Pick one thing from this article and try it this week, not all of it, just one: walk your site, count the hazards, and ask for per-section pricing. Then compare that against the ADA threshold guidance in the Trip Hazard Removal: ADA Thresholds, Methods & Liability pillar before you sign anything.
See also: trip hazard removal
See also: ADA trip hazard height threshold
See also: sidewalk repair
Related: concrete grinding trip hazard
Related: premises liability claim
Related: trip hazard inspection checklist