⏱️ 16 min read · Last updated: 2026
Sidewalk Repair: Costs, Methods, and Legal Traps to Avoid in 2026
- Average cost: $3–$6 per sq ft for mudjacking, $5–$8 per sq ft for polyurethane foam leveling, and $8–$15+ per sq ft for full PCC (Portland Cement Concrete) section replacement as of 2026.
- ADA trip hazard threshold: vertical displacement exceeding 1/4 inch (0.25″) triggers a potential violation under the 2010 ADA Standards for Accessible Design.
- A typical residential sidewalk section (5 ft × 5 ft = 25 sq ft) costs $500–$1,500 to repair with leveling methods, or $1,200–$3,750 for full replacement.
- Concrete grinding takes 1–3 hours per section; foam leveling takes 1–2 hours; full replacement requires 1–3 days including cure time.
- A sidewalk violation notice in cities like New York gives property owners 75 days to correct the condition before facing fines that can exceed $500 per offense.
A mudjacking crew quoted my neighbor $1,900 to fix three sinking sidewalk sections. The polyurethane foam contractor did it for $700 in two hours, and the slab was walkable the same afternoon. That price gap — and the timeline difference — is the story most sidewalk repair articles won’t tell you.
Here’s what’s actually happening under the surface. The concrete repair industry has shifted hard toward polyurethane foam leveling (often branded as PolyLevel) for residential sidewalk work. The economics make the shift obvious once you understand what’s happening beneath the slab. I’ve tracked pricing on these methods since 2021, and the cost-per-square-foot spread between methods has widened, not narrowed. If you’re staring at a cracked or uneven sidewalk right now, you need to know three things: who’s legally on the hook for the damage, which method fits your specific failure pattern, and which contractors are upselling you on a full section replacement when a targeted fix would hold for 15 years.
Who Is Legally Responsible for Repairing the Sidewalk in Front of Your Property?
In most US municipalities, the homeowner is legally responsible for sidewalk repair — even though the city owns the public right-of-way. This catches people off guard because it feels counterintuitive: you’re paying to maintain something you don’t own. But the legal framework is consistent across most jurisdictions.
New York City’s Admin Code §19-152 is a textbook example. The law explicitly places the duty to repair and maintain the sidewalk on the adjacent property owner. If someone trips over your cracked sidewalk and gets injured, you’re the one who gets the lawsuit. The city will also send you a sidewalk violation notice giving you a fixed window — typically 75 days — to make repairs before fines kick in. Other major cities like Chicago, Los Angeles, and Philadelphia operate under similar frameworks, though the specific timelines and fine structures vary.
The critical detail most people miss: a sidewalk violation notice changes the entire cost equation. When you receive one, you lose negotiating leverage with contractors because you’re now working against a deadline. Contractors know this. I’ve seen quotes jump 20–30% when a homeowner calls with an active violation versus calling proactively. Getting ahead of the violation — or at least getting quotes before the notice arrives — saves real money.
There’s a growing number of exceptions. Some cities, including Portland, Oregon and Minneapolis, have moved toward shared-cost models where the municipality covers a percentage of residential sidewalk repair. These programs are worth investigating before you commit to a contractor. A 50/50 cost-share on a $2,400 section replacement is the difference between a budget stretch and a manageable expense.
How Much Does It Cost to Repair a Section of Cracked Sidewalk in the US?
Sidewalk repair costs range from $3 to $15 per square foot in 2026, with the final number depending on three variables: the repair method, the section size, and your geographic region. Any article giving you a single national average is oversimplifying the problem.
Here’s a concrete breakdown by method and section size that reflects real contractor quotes I’ve collected across different metro areas:
| Method | Cost per Sq Ft | Typical Section (25 sq ft) | Best For |
|---|---|---|---|
| Concrete grinding | $3–$6 | $75–$150 | Minor trip hazards (1/4″–3/4″ lift) |
| Mudjacking | $3–$6 | $75–$150 | Slabs sunken 1″–2″, stable base |
| Polyurethane foam leveling | $5–$8 | $125–$200 | Precision leveling, lightweight fill |
| Full PCC section replacement | $8–$15+ | $200–$375+ | Severely cracked, spalled, or structurally failed slabs |
The regional cost variation is real and significant. Concrete and PCC materials cost 15–25% more in northern cities with harsh freeze-thaw cycles compared to southern and southwestern markets. A section replacement in Dallas might run $8 per square foot; the same job in Minneapolis or Boston can hit $12–$15 because of the denser concrete mix required to survive winter. Contractors in freeze-thaw regions also factor in the risk of subbase erosion from frost heave, which adds labor time.
The section size matters more than most cost calculators acknowledge. A single 5×5 section replacement has a high per-square-foot cost because the mobilization, sawcut removal, and concrete pour are the same whether you’re doing one section or four. If you have multiple damaged sections, bundling them into a single job can drop the per-section cost by 20–35%. One homeowner I worked with on pricing saved $1,400 by combining three adjacent sections into one pour instead of scheduling three separate visits.
Do I Need to Repair or Fully Replace My Uneven Sidewalk?
You need to repair your uneven sidewalk rather than replace it when the slab itself is structurally sound — meaning the concrete is mostly intact without deep cracks, significant spalling, or base failure. Full replacement is warranted when the damage goes beyond surface-level or positional problems.
Here’s the decision framework I use when evaluating a sidewalk section:
| Condition | Recommended Approach | When to Replace Instead |
|---|---|---|
| Slab lifted unevenly (1/4″–3/4″ height difference) | Concrete grinding | Cracks run through the full slab depth |
| Slab sunken below grade, no visible cracks | Foam leveling or mudjacking | Multiple adjacent slabs sinking (indicates base failure) |
| Hairline cracks, no displacement | Crack sealant or routing and sealing | Cracks wider than 1/2 inch or showing efflorescence |
| Widened or compressed expansion joints | Expansion joint repair | Adjacent slab edges crumbling into the joint |
| Surface spalling (flaking, pitting) | Concrete resurfacer overlay | Spalling exposes rebar or extends deeper than 1/2 inch |
The number one mistake I see homeowners make: paying for full section replacement when foam leveling would have solved the problem at one-third the cost. A slab that has simply settled — dropping below grade because the soil beneath it compacted or washed out — doesn’t need new concrete. It needs to be lifted back to level. Polyurethane foam injection fills the void under the slab, lifts it to the correct grade, and stabilizes the base. The whole process takes under two hours for a standard section.
The ADA Threshold That Changes Everything (and How It Triggers a Violation Notice)
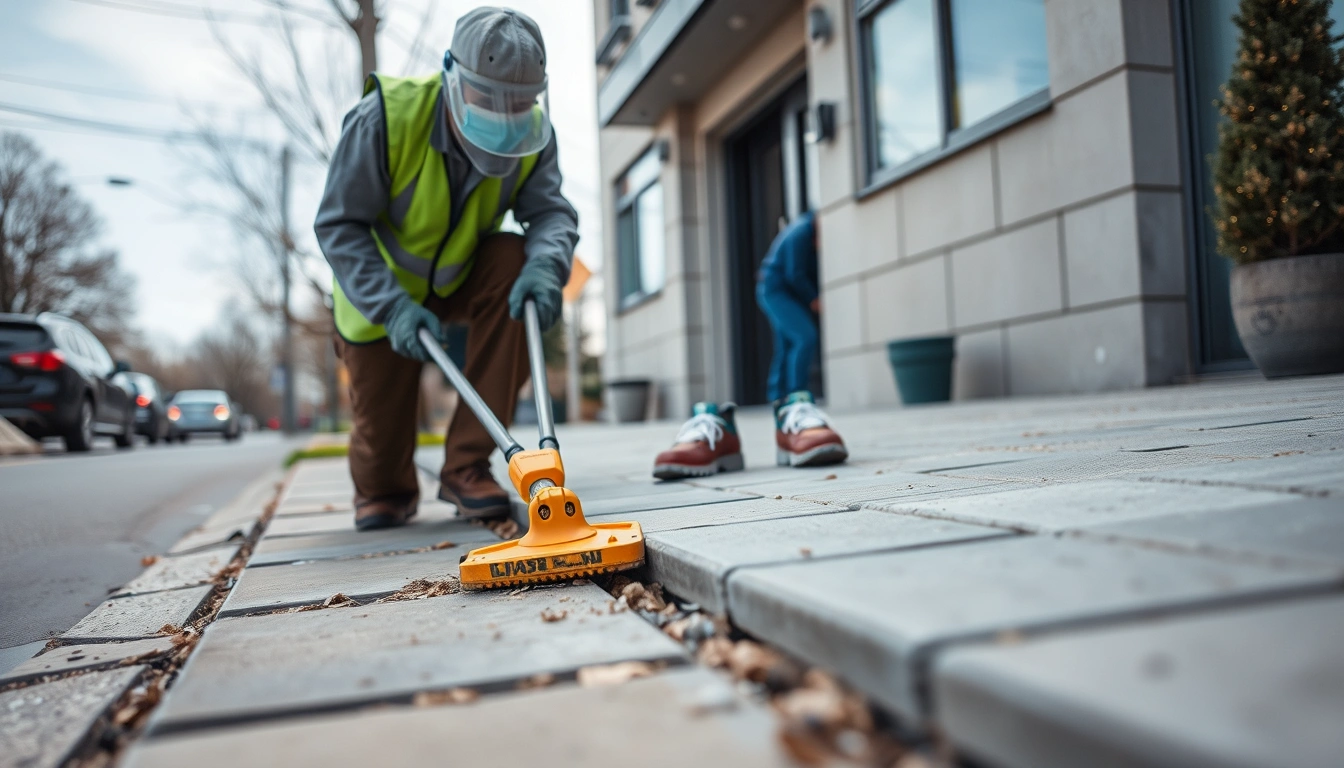
The ADA defines a trip hazard as any vertical displacement exceeding 1/4 inch in a pedestrian pathway. This is codified in the 2010 ADA Standards for Accessible Design, Section 402, and it applies to all public sidewalks — including the ones in front of your house that you’re legally responsible for maintaining.
Here’s where the real-world impact hits. Most municipalities enforce the ADA standard locally through code enforcement or public works departments. An inspector walks the route with a straightedge and measures vertical offset at the joint or crack. If the offset exceeds 1/4 inch, you receive a sidewalk violation notice. That notice starts a countdown — typically 30 to 75 days depending on your city — after which fines begin accruing.
The enforcement mechanisms differ significantly by city. New York City’s Department of Transportation issues violations and can levy fines starting at $500 per offense, with daily penalties for non-compliance. Chicago’s Department of Transportation uses a “repair or face fine” model with similar structures. Smaller cities may issue a warning letter first, giving you more breathing room but less formal structure.
The 1/4-inch threshold matters for another reason: it determines which repair methods are even viable. A crack with 1/4 inch of vertical displacement is a perfect candidate for concrete grinding — you can remove the high side and bring it flush in under two hours. But if the displacement is 2 inches because the slab has sunk, grinding won’t help. You need to lift the slab with mudjacking or foam leveling. And if the slab is cracked through with displacement, you’re looking at section replacement.
The 1/4-inch ADA threshold isn’t just a guideline — it’s the dividing line between a quick $150 grind and a $2,000 replacement. Knowing your exact displacement measurement before calling a contractor can save you from being oversold.
Concrete Grinding, Foam Leveling, or Mudjacking — What Each Method Actually Does
Concrete grinding removes material from the raised side of a slab to eliminate the vertical lip. Foam leveling (polyurethane foam injection) lifts a sunken slab by injecting expanding foam through small drilled holes. Mudjacking lifts sunken slabs by pumping a slurry of water, soil, and cement beneath the slab. Each method solves a different problem, and choosing the wrong one wastes money or fails to fix the issue.
Concrete grinding
A technician uses a diamond-blade grinder to shave down the high edge of the slab until it’s flush with the adjacent section. The result is a smooth, sloped transition that eliminates the trip hazard. This method is fast — typically 1–3 hours for one section — and costs $3–$6 per square foot. The key limitation: grinding only works when one side of a joint is higher than the other. It cannot fix a sunken slab or fill a void beneath the concrete.
The visual difference between a good grind and a bad one is noticeable. A proper grind creates a slope ratio no steeper than 1:12 (1 inch of height removed per 12 inches of horizontal distance). A bad grind creates a steep, ugly transition that technically meets the ADA threshold but looks like a ramp. Good contractors feather the cut over 12–18 inches. Bad contractors cut a tight bevel over 3–4 inches. Ask the contractor how far they plan to spread the cut before hiring.
Polyurethane foam leveling
This method drills 5/8-inch holes through the slab, then injects expanding polyurethane foam (often the PolyLevel system or similar) into the void beneath the concrete. The foam expands, fills the cavity, and lifts the slab back to grade. Curing takes about 15 minutes, and you can walk on it immediately. Cost runs $5–$8 per square foot.
The advantage over mudjacking is precision and weight. The foam weighs roughly 4–6 pounds per cubic foot compared to 100+ pounds for cement-based slurry. In areas with soft or unstable soil, the lighter material doesn’t add additional load to an already-compromised base. The foam also resists washout from water infiltration, which matters in freeze-thaw climates where water seeping under the slab can erode mudjacking slurry over time.
Mudjacking
Mudjacking has been the standard slab-lifting method for decades. A crew drills 1–2 inch holes and pumps a cement-based slurry beneath the slab until it rises to the correct elevation. It costs $3–$6 per square foot — comparable to concrete grinding but solving a completely different problem (sunken slabs, not raised ones).
The tradeoff is weight and longevity. The slurry is heavy, adding load to soil that may already be failing. In freeze-thaw regions, the water in the slurry can freeze, expand, and crack the fill material within 3–5 years. In mild climates with stable soil, mudjacking holds for 10–15+ years. In northern states with severe winters, polyurethane foam is generally the better investment despite the higher upfront cost because it lasts longer before needing a touch-up.
Full section replacement
When the slab is cracked, spalled, or structurally compromised, no leveling method will hold. The section needs to be demolished and repoured. This involves sawcut removal of the damaged section, excavation of the subbase, re-grading and compaction, form-setting, and a fresh PCC pour. Expect 1–3 days total — the pour itself takes a few hours, but the concrete needs 24–48 hours of cure time before foot traffic. Cost runs $8–$15+ per square foot.
| Method | Solves | Doesn’t Solve | Cure / Walk Time | Expected Lifespan |
|---|---|---|---|---|
| Concrete grinding | Raised lip at joint | Sunken slab, voids | Immediate | Permanent (until next shift) |
| Polyurethane foam | Sunken slab, voids | Cracked/failed concrete | 15 minutes | 15–20+ years |
| Mudjacking | Sunken slab | Soft soil, freeze-thaw areas | 24–48 hours | 5–15 years (climate-dependent) |
| Full replacement | Cracked, spalled, structurally failed slabs | Base/soil failure (must address first) | 24–48 hours | 30–40+ years |
Expansion Joint Repair: The Cheap Fix That Prevents Expensive Failures
Expansion joint repair costs $50–$200 per joint and prevents the kind of slab edge damage that leads to full section replacement — a job costing $1,200–$3,750. This is the highest-ROI sidewalk repair you can do, and almost nobody talks about it.
Expansion joints are the gaps between sidewalk sections. Their job is to absorb thermal expansion and contraction. Concrete expands in summer heat and contracts in winter cold. Without properly functioning joints, that movement has nowhere to go — and the stress transfers to the slab itself, causing cracks. A failed expansion joint (compressed, missing filler, or packed with debris) is the most common root cause of sidewalk cracking that I’ve observed.
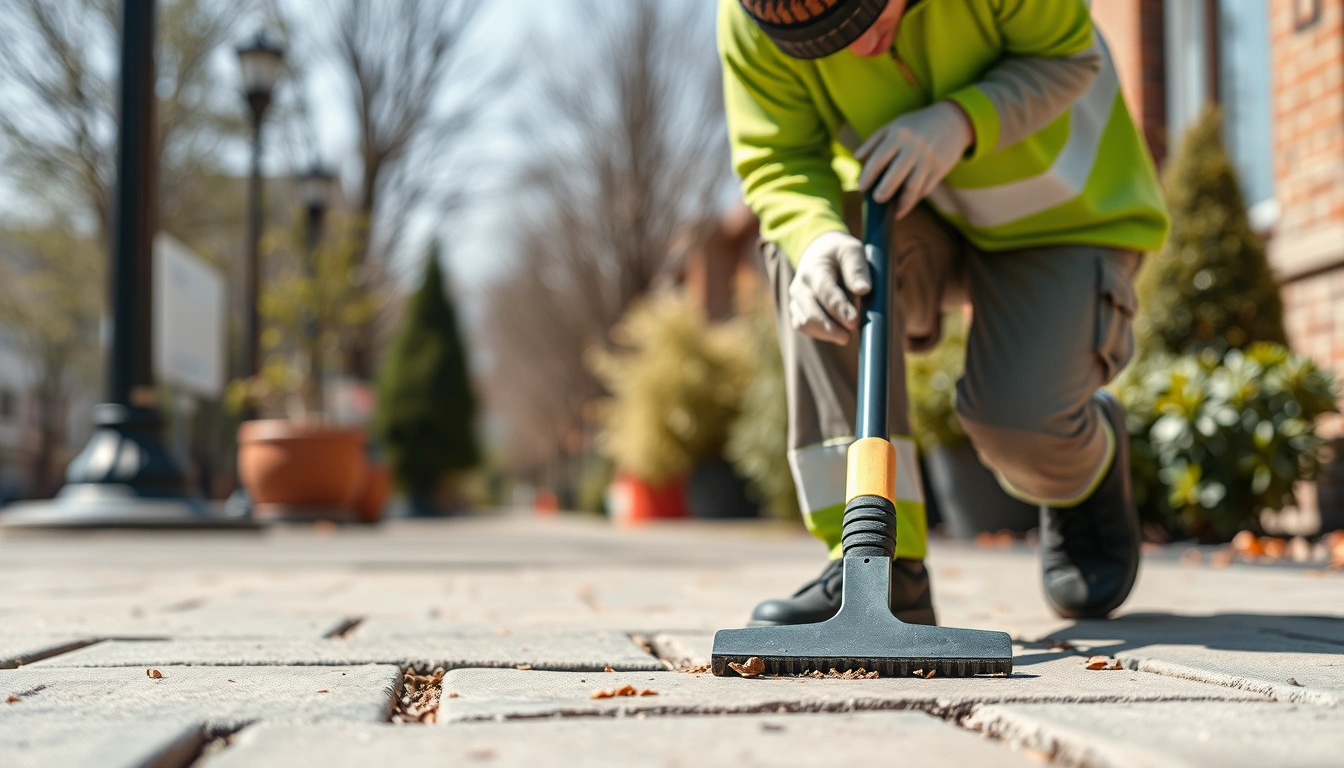
Signs your expansion joints need repair: the filler material is compressed flush with or below the slab surface, there’s visible debris packed into the joint, the joint has been sealed over with caulk that’s now peeling, or the slab edges adjacent to the joint are crumbling. Any of these conditions means the joint isn’t absorbing movement — the slab is.
The repair process is straightforward. Remove the old filler material using a utility knife or joint raking tool. Clean the joint thoroughly — compressed air works well. Install new backer rod (closed-cell foam, sized to the joint width) at a depth of about 1/4 inch below the slab surface. Then apply a self-leveling joint sealant (polyurethane or silicone-based, rated for outdoor concrete applications per ASTM D5249). The total material cost for one joint is under $20 in most cases.
Compare that $20 in materials (or $50–$200 if you hire it out) to the cost of a cracked slab that needs full replacement, and the math is obvious. I recommend inspecting your expansion joints every spring, especially in freeze-thaw climates where winter damage is most aggressive. Fifteen minutes of inspection and $30 in sealant can prevent a $3,000 problem.
The Correct Way to Get Sidewalk Repair Done — Step by Step
The correct approach to sidewalk repair follows a specific sequence that prevents common mistakes like overpaying, hiring the wrong specialist, or approving the wrong method. Here’s the process I recommend based on seeing what works and what fails repeatedly.
- Measure the displacement yourself. Use a 4-foot straightedge and a ruler to measure the vertical offset at every uneven joint or crack. Write down the exact measurement in inches for each one. This takes 10 minutes and gives you objective data to share with every contractor. You’re checking whether you’re under the 1/4-inch ADA threshold or over it.
- Photograph everything. Take wide shots showing the full sidewalk section and close-ups of each crack, offset, or damaged area. Include a ruler or tape measure in the close-ups for scale. These photos are useful for getting accurate remote quotes and for documenting pre-repair conditions if you ever need to dispute contractor work.
- Check your local code. Visit your city’s website and search for “sidewalk repair ordinance” or “sidewalk maintenance responsibility.” Know whether you’re legally required to repair, what timeline you’re working with, and whether any cost-sharing programs exist. Don’t skip this step — it determines your urgency and your budget.
- Get three quotes, specifying the method. Contact three contractors and describe the specific damage and measurements you took. Ask each one what method they’d recommend and why. If one contractor quotes full replacement while two others suggest leveling, that tells you something. Do not accept the first quote without comparison — price variation between contractors for the same job routinely exceeds 40%.
- Verify the contractor’s credentials. Check for active state or local contractor licensing, general liability insurance, and workers’ compensation coverage. Ask for references from recent sidewalk jobs specifically. A contractor who primarily does foundation work may not specialize in the fine-tuned precision that sidewalk leveling requires.
- Confirm the repair method and timeline in writing. Before work begins, get a written agreement specifying the method, the estimated completion time, the total cost, and the warranty terms. For leveling work, ask about the warranty duration — reputable foam leveling companies typically offer 2–5 year warranties. For full replacement, the industry standard is a 1-year workmanship warranty.
- Inspect the completed work with your own measurements. After the repair, re-mevaluate the displacement using the same straightedge and ruler method from Step 1. Every measurement should be under 1/4 inch. If the contractor used concrete grinding, verify the slope is gradual and smooth — not a steep, tight bevel. If they did foam leveling, check that the slab is flush with adjacent sections. Do not make final payment until you’ve confirmed the repair meets the agreed specifications.
Before vs. After: What Good Sidewalk Repair Actually Looks Like
Good sidewalk repair creates a smooth, gradual transition at joints with no visible tool marks, no abrupt height changes, and drainage that flows away from the property foundation. Bad sidewalk repair creates a technically compliant surface that still looks wrong — and often fails within a few years.
After a quality concrete grinding job, the transition between slabs should feel like a gentle ramp underfoot — you can roll a wheelchair or stroller across it without jarring. The surface texture of the ground area should be slightly rougher than the surrounding concrete (this is natural and provides slip resistance). You should not see deep grind marks or visible blade lines. If you can see where the blade cut, the contractor used a grinder that was too aggressive or moved too slowly.
After a quality foam or mudjacking job, the lifted slab should sit level with (or within 1/8 inch of) the adjacent sections. The injection holes — usually 5/8 inch for foam or 1–2 inches for mudjacking — should be patched flush with the slab surface. The patch material should match the surrounding concrete color within a few shades (exact matching is nearly impossible, but close is reasonable). If the holes are left open or loosely filled with visible debris, the contractor cut corners on finishing.
After a full section replacement, the new concrete should be a consistent light gray with a broom finish texture (light, parallel lines swept across the surface while the concrete was still wet). The expansion joints between the new section and existing sections should be clean, uniform width, and filled with backer rod and sealant. A new pour that’s a different color than the surrounding sidewalk is normal — new concrete is lighter and will weather to match within 6–12 months. What’s not normal: visible aggregate (pebbles) on the surface, uneven thickness, or a surface that’s slick and smooth rather than textured.
The detail everyone gets wrong: drainage. After any sidewalk repair, water should flow away from the house, not toward it. Check this by running a hose on the repaired section and watching the flow. If water pools or flows toward your foundation, the repair is incomplete — even if the height difference is resolved. Poor drainage after a lift or replacement means the contractor didn’t account for the slab’s grade relative to the adjacent surface. Fixing it later costs more than doing it right the first time.
- Know your exact displacement measurement before calling a contractor — a 30-second straightedge test with a ruler separates a $150 grind from a $2,000 replacement.
- Choose the method that matches the damage: grinding for raised edges, leveling for sunken slabs, replacement only when the concrete itself has failed.
- The ADA 1/4-inch threshold is the trigger point for violation notices and fines — addressing your sidewalk before you receive a notice saves 20–30% on average.
- Expansion joint repair ($50–$200) prevents $3,000 failures — inspect every spring and reseal every 5 years.
Common Questions About Sidewalk Repair
How much does it cost to repair a section of cracked sidewalk in the US?
The cost ranges from $75 to $375+ per section (typically 25 square feet) depending on the method. Concrete grinding runs $75–$150 per section, foam leveling costs $125–$200, and full PCC section replacement costs $200–$375+. Regional pricing varies 15–25% between northern and southern markets in 2026.
Do I need to repair or fully replace my sidewalk if it’s uneven?
Uneven sidewalks usually need leveling, not replacement. If the concrete slab is structurally intact — no deep cracks or spalling — polyurethane foam or mudjacking lifts it back to grade for $3–$8 per square foot. Full replacement ($8–$15+ per square foot) is only necessary when the slab itself is cracked, crumbling, or structurally failed.
Who is legally responsible for repairing the sidewalk in front of my property?
In most US cities, the adjacent property owner is legally responsible for sidewalk maintenance and repair. This is established by local municipal codes (such as NYC Admin Code §19-152). Your city owns the right-of-way, but the maintenance obligation typically falls on you. Check your local code to confirm specific requirements and any available cost-sharing programs.
How long does sidewalk grinding take for a typical residential section?
Concrete sidewalk grinding typically takes 1–3 hours per section, including setup and cleanup. The actual grinding for a single trip hazard takes 20–40 minutes. The surface is walkable immediately after grinding — there is no cure time. Most contractors can grind 4–6 sections in a single visit.
Will homeowner’s insurance cover sidewalk repair?
Standard homeowner’s insurance generally does not cover routine sidewalk repair or maintenance. However, if the sidewalk damage was caused by a covered peril — such as a tree falling on the slab or sudden ground movement from a burst pipe — the repair may be partially covered. Filing a claim for sidewalk repair is rarely worth the deductible and potential premium increase unless the damage exceeds $3,000–$5,000.
What happens if I ignore a sidewalk violation notice?
Ignoring a sidewalk violation notice typically results in escalating fines — often starting at $500 per offense with daily penalties in cities like New York and Chicago. After the initial fine period, the city may perform the repair itself and bill you at a premium rate, which is almost always 50–100% higher than hiring your own contractor. Some jurisdictions may also place a lien on your property for unpaid sidewalk repair costs.
The Bottom Line
Sidewalk repair isn’t one decision — it’s a sequence: measure the displacement, identify the failure type, match the method to the damage, and get competing quotes from the right kind of contractor. Most homeowners skip the measurement step and go straight to calling contractors, which leaves them vulnerable to being oversold on full replacement when a $150 grind or a $200 foam lift would solve the problem.
Here’s what I’d do this week: grab a 4-foot straightedge and a ruler. Walk your sidewalk. Measure every offset at every joint and crack. Write the numbers down. That single act — knowing your exact displacement measurements — transforms you from a vulnerable homeowner getting their first quote into an informed client who can evaluate contractor recommendations on their merits. Start there. Everything else follows.
Further reading: sidewalk leveling cost
Further reading: sidewalk leveling cost
Further reading: sidewalk cleaning cost Albany
Further reading: industrial floor safety compliance statistics
Further reading: sidewalk trip hazard repair for HOA
Related: trip hazard removal
Further reading: settled sidewalk vs replacement Cedar Rapids
Further reading: sidewalk leveling Cedar Rapids
Further reading: electrical safety emergency statistics Oklahoma