trip hazard removal: The Exact 1/4-Inch Rule and Fixes
⏱️ 14 min read · Last updated: 2026
- ADA vertical displacement threshold: 1/4 inch is the common trigger for remediation on accessible routes; above that, the surface is usually considered a trip hazard.
- ADA 1/2 inch beveled threshold: a change up to 1/2 inch is typically allowed only when the edge is beveled at 1:2 or flatter.
- Concrete grinding cost: many contractors quote about $8 to $15 per linear foot for a single hazard, with small jobs often landing around $150 to $350 per location in 2026.
- Average trip-and-fall claim: workplace incidents average approximately $40,000 per claim, according to the National Safety Council figure cited in 2026 reporting.
- OSHA says any floor-level change of 1/4 inch or more is a trip hazard that needs remediation under its Walking-Working Surface standard.
The crack ran from the garage apron to the mailbox, and the left edge sat just enough proud to catch a shoe. That is the kind of problem trip hazard removal handles best: not dramatic enough for full replacement, but serious enough to matter in rain, low light, and on the way to the car.
I have watched two crews solve the same sidewalk offset in very different ways. One crew spent twenty minutes on concrete grinding; the other recommended cutting, lifting, and patching because the slab had already moved again after winter. The first quote was lower, but the second one was the one that held up a year later.
The right fix is not the cheapest fix. It is the one that gets the vertical displacement below the ADA 1/4 inch threshold and stays there after the next freeze-thaw cycle.
How the thresholds actually work, and why most people miss the real cutoff
The real cutoff is vertical displacement, not “looks uneven.” If the height difference is 1/4 inch or more, OSHA treats it as a trip hazard on walking-working surfaces, and ADA accessibility rules use the same 1/4 inch threshold for a change in level.
The exception is a beveled edge. The ADA 1/2 inch beveled threshold allows a change up to 1/2 inch only when the edge is beveled at 1:2 or flatter, which means the slope must spread gradually enough that a toe does not hit a vertical lip.
What that means on a sidewalk
A 3/16-inch lip may still feel annoying, but it is usually not the level where you need full trip hazard removal. A 5/16-inch lip is a different story, because it crosses the practical line where feet catch, strollers stop, and carts jerk sideways.
Here is the part many owners miss: the high side is usually the part that gets ground down, not the low side. That matters because concrete grinding trip hazard work removes material from the raised slab so the walkway transitions smoothly instead of leaving a sharp edge.
| Measured condition | Typical interpretation | Common fix |
|---|---|---|
| 1/8 inch vertical displacement | Usually below the ADA trigger | Monitor, seal cracks, document |
| 1/4 inch vertical displacement | ADA vertical displacement threshold reached | Grinding, sawcutting, or leveling |
| 1/2 inch with no bevel | Clear hazard | Bevel, grind, or rebuild the edge |
| 1/2 inch with 1:2 bevel | Meets ADA 1/2 inch beveled threshold | May be acceptable if stable and uniform |
OSHA’s slips, trips, and falls prevention guidance notes that any floor-level change of 1/4 inch or more needs remediation under the Walking-Working Surface standard. That is why good trip hazard removal starts with a measurement, not a guess.
A sidewalk can look “fine” from the street and still fail the 1/4 inch rule at the seam.

How a sidewalk trip hazard is removed without replacing the whole slab
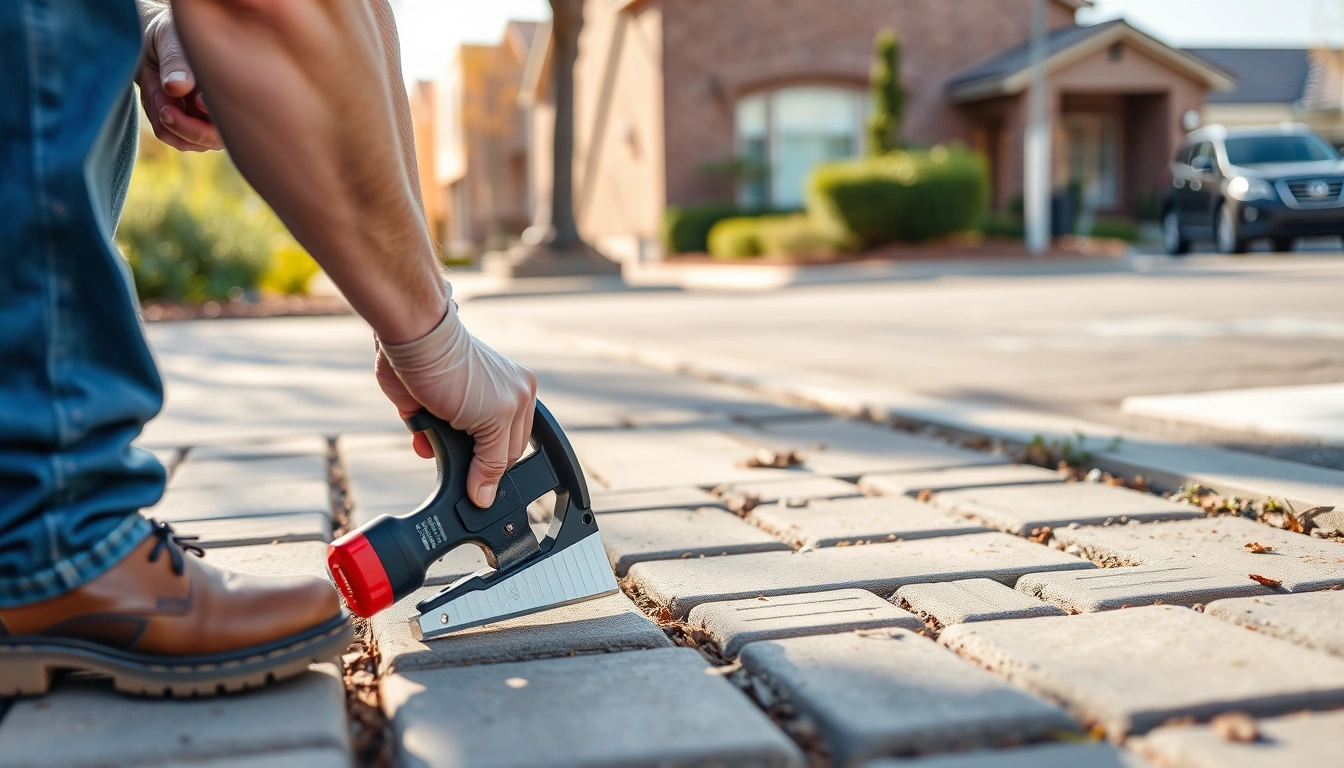
Most sidewalk trip hazard removal jobs are fixed by grinding the high side, sawcutting the edge, or leveling the slab if the movement is still active. Full replacement is usually the last option because it costs more, takes longer, and does not solve the root cause if the base soil keeps moving.
The choice depends on how high the lip is, how wide the slab is, and whether the problem is one-time settlement or ongoing heave. Sidewalk leveling works best when the slab is still structurally sound but has dropped or tilted; sawcutting helps create a clean, bevel-like transition; and concrete grinding works best for small to moderate vertical displacement.
Method-by-method comparison
| Method | Best for | Speed | Main drawback |
|---|---|---|---|
| Concrete grinding | 1/4-inch to about 1 inch of localized lip | Fast, often same day | Can expose aggregate and roughen the edge |
| Sawcutting | Creating a controlled bevel or trimming a raised corner | Fast | Less forgiving if the slab is thin or already cracked |
| Sidewalk leveling | Slabs that have settled but are still intact | Moderate | Does not help if the concrete has broken apart |
| Slab replacement | Severely broken, heaved, or undersized panels | Slowest | Most expensive and disruptive |
For a homeowner or property manager, the smartest question is not “which method sounds best?” It is “which method keeps this under the ADA displacement limit after the next season change?” That is where a lot of cheap repairs fail.
That statistic matters because it shows sidewalks are not a background issue. They are a real injury surface, and the cost of doing nothing can be much higher than the repair invoice.
The correct way to remove a sidewalk hazard, step by step
The correct process starts with measuring the displacement, not grinding first and hoping for the best. A good contractor also checks slab thickness, joint spacing, drainage, and whether tree roots or frost movement are still pushing the panel out of alignment.
- Measure the height difference. Check the highest point with a ruler or digital level. What to check: whether the displacement is under 1/4 inch, between 1/4 and 1/2 inch, or above 1/2 inch. What not to do: measure only at the crack ends, because the worst lip is often in the middle.
- Inspect both sides of the joint. Look for spalling, cracks, hollow sound, or crushed edges. What to check: whether the high side is sound enough to grind safely. What not to do: grind through badly delaminated concrete, because it will break off later.
- Decide whether the slab is stable. Check for repeated movement, nearby tree roots, and drainage that funnels water under the walkway. What to check: whether sidewalk leveling will hold. What not to do: level a slab that is still being lifted by roots or frost.
- Mark the grind line or sawcut line. Use chalk to show the intended transition. What to check: a smooth taper that removes the toe-catching edge. What not to do: leave a short, steep taper that still feels like a step.
- Perform the repair. Use concrete grinding, sidewalk sawcutting, or leveling based on the measured offset and slab condition. What to check: that the finished edge meets the required threshold. What not to do: remove so much material that the slab edge becomes thin and weak.
- Verify the finish. Re-measure with the same tool used at the start. What to check: that the repaired area is now under the ADA 1/4 inch threshold, or within the ADA 1/2 inch beveled threshold if beveled. What not to do: rely on a visual check alone.
- Document the repair. Save photos, measurements, date, and contractor notes. What to check: that your record shows the before and after height difference. What not to do: throw away the evidence if you manage commercial or shared property.
That last step sounds tedious until there is a claim. Documentation is part of trip-and-fall liability defense, especially on properties with public access or delivery traffic. A photo with a tape measure can be the difference between “we fixed it promptly” and “we ignored it.”
The repair is not finished until the same measurement taken before the work is taken again after the work.

What trip hazard removal costs in 2026, and when the cheap option is the wrong one
Trip hazard removal usually costs less than replacement, but the gap can widen fast when the slab is broken, thin, or hard to access. In 2026, a small grinding job often runs about $150 to $350 per hazard, while larger or more complicated repairs climb from there.
Grinding cost per hazard depends on linear feet, access, concrete hardness, and whether the crew needs dust control or traffic control. A simple residential trip on a driveway apron can be quick; a public sidewalk next to a busy storefront can take longer just because of barricades and pedestrian routing.
What you are really paying for
You are paying for labor, equipment, risk, and whether the contractor can make the edge legal and durable in one pass. Sidewalk leveling may cost more upfront than a grind, but if the slab is still moving, it can save money by avoiding repeated repairs.
| Scenario | Likely cost shape | Typical timeline | Best use case |
|---|---|---|---|
| One small lip, good concrete | Lowest | 1–3 hours | Concentrated concrete grinding |
| Several uneven panels | Moderate | Half day to 1 day | Mixed grinding and sawcutting |
| Sunken slab with intact structure | Moderate to higher | Same day or next day | Sidewalk leveling |
| Broken, heaved, or root-damaged slab | Highest | 1 to 3 days | Replacement |
The most useful comparison is not repair price versus replacement price. It is repair price versus claim exposure. The National Safety Council figure cited in 2026 reporting puts the average workplace slip, trip, or fall incident at approximately $40,000 per claim, which makes a few hundred dollars on concrete look very different.
National Safety Council slip, trip, and fall statistics also place the total annual cost of these injuries in the United States above $60 billion. That number is why owners who delay trip hazard removal often end up paying twice: once for the repair, then again for the incident response.
A $250 grind is cheap when the alternative is a $40,000 average claim.
Before vs. after: what good trip hazard removal actually looks like
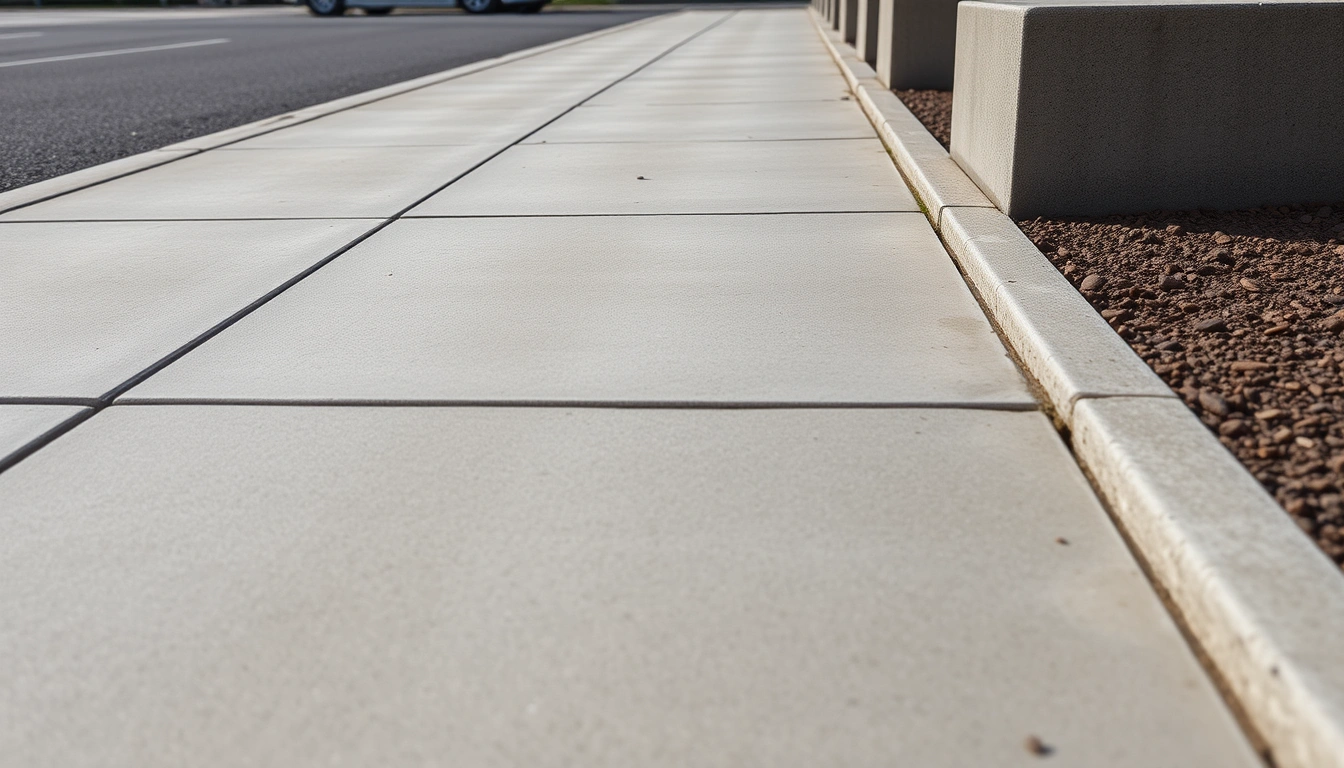
Good trip hazard removal looks boring, which is exactly the point. The repaired edge should feel like a gradual transition underfoot, with no sharp lip, no loose dust strip, and no obvious ridge catching the toe of a shoe.
Bad work is usually easy to spot once you know what to look for. The transition is too short, the edge is chalky and crumbly, or the repair solved one corner while leaving the next highest point untouched.
Visual checks that matter
Stand at the worst section and look from the side, not just from above. The key here is the profile line — notice how the repaired side tapers instead of dropping abruptly. That is what separates a legal, walkable transition from a cosmetic patch.
- The finished surface should have a consistent slope across the repair zone.
- The repaired lip should no longer catch the edge of a shoe or cane tip.
- The seam should not crumble when brushed with a boot or swept clean.
- The final measurement should verify the ADA displacement limit, not just “look better.”
For sidewalks with heavy foot traffic, the repair should also make sense in winter. A rough, ground surface can be acceptable, but if the finish becomes a small puddle trap or sheds aggregate, the repair creates a new problem. That is why the best contractors think about water flow at the same time they think about height difference.
sidewalk repair is worth comparing when the panel is cracked, not just lifted. A grind can make a lip safer, but it cannot fix structural failure, drainage problems, or a slab that keeps moving.
Am I liable if someone trips on the uneven sidewalk at my property?
You may be liable if you knew, or should have known, about a dangerous sidewalk condition and did not fix it in a reasonable time. trip-and-fall liability usually turns on notice, foreseeability, maintenance history, and whether the hazard was visible enough to be corrected before an injury.
That is why the 1/4 inch threshold matters beyond compliance language. Once a measurable lip exists, you no longer have a cosmetic issue; you have a documented hazard that can matter in a claim. New York City, for example, faced 2,134 sidewalk personal injury claims totaling $61.7 million in a single year, according to the NYC Office of the Comptroller figure cited in 2025 reporting.
Once the height difference crosses 1/4 inch, the problem is no longer just maintenance. It becomes a risk-management issue.
The safest response is prompt inspection, temporary warning if needed, and documented repair. If the condition is on commercial property, public frontage, or a route used by deliveries and visitors, treat it like a clock is running. That is especially true when weather makes the hazard harder to see.
the NEMSIS pedestrian-fall study shows how often street and sidewalk falls turn into EMS calls. In 2019, 118,520 injurious pedestrian falls on streets and sidewalks required EMS response, which is a reminder that sidewalk hazards are not rare edge cases.
The detail everyone gets wrong about sidewalk leveling
The detail everyone gets wrong is assuming the low side should be “built up” first. In many cases, the safest fix is still to remove the high side, because adding material to the low side can leave a visible hump, create a ponding issue, or fail when the base moves again.
Another common mistake is using a repair method that solves the symptom but not the cause. If roots, freeze-thaw cycling, or poor drainage are still active, the surface may re-lift or re-settle within a season. That is the difference between a one-time grind and a durable sidewalk leveling plan.
What I learned from bad repairs
The worst repair I saw looked perfect for two months. Then the next cold snap opened the joint by another quarter inch because the crew had fixed the lip without addressing the base. It was a good-looking repair and a bad decision.
- Do not skip drainage. Check where water goes after rain. What to check: whether runoff pools at the joint. What not to do: grind a hazard and leave the water path unchanged.
- Do not chase a perfectly flat finish. A slight, even transition is better than a thin, fragile edge. What to check: a safe taper, not showroom smoothness. What not to do: remove so much concrete that the edge weakens.
- Do not assume one method fits all. Use concrete grinding trip hazard repair for small lips, sidewalk sawcutting for a controlled transition, and leveling when the slab itself has settled. What not to do: force every job into one tool.
- Do not ignore repeat movement. If the same panel keeps shifting, mark it and monitor it. What to check: seasonal change. What not to do: keep paying for the same fix every year.
Falls are expensive far beyond the repair itself. The total annual cost of slip, trip, and fall injuries in the United States exceeds $60 billion, and fall-related hazards remain a major safety issue in construction and public access settings. That is why the smartest trip hazard removal is measured, documented, and matched to the actual slab condition.
Common questions about trip hazard removal
What height difference in a sidewalk counts as a trip hazard under ADA?
A vertical displacement of 1/4 inch or more is the standard ADA trigger for a trip hazard on accessible routes. If the change is up to 1/2 inch, it generally needs a bevel at 1:2 or flatter to be acceptable.
How is a sidewalk trip hazard removed without replacing the whole slab?
Most small hazards are removed by concrete grinding, sidewalk sawcutting, or sidewalk leveling. Grinding lowers the high side, sawcutting creates a controlled edge, and leveling corrects a settled slab without full replacement.
Am I liable if someone trips on the uneven sidewalk at my property?
Possibly, yes. Liability usually depends on whether you knew about the uneven condition, had time to fix it, and documented a reasonable repair effort. A measured hazard above 1/4 inch is much easier to argue about in a claim.
How much does concrete grinding trip hazard repair cost in 2026?
A small concrete grinding trip hazard job often runs about $150 to $350 per hazard in 2026, with many contractors quoting roughly $8 to $15 per linear foot. Access, dust control, and slab thickness can move the price up.
Is sidewalk leveling better than grinding for settlement problems?
Usually, yes, if the slab is still structurally sound and the problem is settlement rather than edge breakage. Grinding lowers the lip; leveling raises or supports the slab. If the concrete keeps moving, leveling often lasts longer.
Can sawcutting make a sidewalk safer than grinding?
Yes, when the hazard needs a clean, controlled transition and the slab has enough thickness to support it. Sawcutting works well for shaping the edge, but it is not the right answer for thin, spalled, or badly cracked concrete.
- trip hazard removal starts with measuring vertical displacement, not guessing from appearance.
- The ADA 1/4 inch threshold is the key cutoff; the ADA 1/2 inch beveled threshold applies only with a proper bevel.
- Concrete grinding is usually the fastest fix for small hazards, but sidewalk leveling is often better when the slab is still moving.
- Documenting the before-and-after measurement is part of reducing trip-and-fall liability, not an extra step.
The Bottom Line
If you only do one thing this week, measure the worst sidewalk lip and write the number down. If it is 1/4 inch or more, trip hazard removal is not a future project; it is a near-term safety and liability task. For stable, small offsets, start with concrete grinding or sidewalk sawcutting. For settled slabs, ask whether sidewalk leveling will last longer than a grind. Pick one fix that matches the movement, document it, and do not let the hazard sit through another season.
See also: sidewalk repair
Related: trip and fall liability sidewalk
Related: sidewalk sawcutting method
Related: trip hazard inspection checklist
Related: trip hazard removal statistics
Related: trip hazard notice response