sidewalk sawcutting method: Choose Sawcut vs Grind Fast
⏱️ 9 min read · Last updated: 2026
- Typical sawcut displacement range: about 1/2 inch to 1 inch, where a sawcut line can remove the high side cleanly.
- Typical grind range: about 1/4 inch to 1/2 inch, where concrete grinding is usually faster and leaves less visible change to the slab shape.
- Finish quality: concrete grinding usually leaves a smoother surface finish than sawcutting, while sawcutting leaves a more distinct cut face.
- Timeframe: a small sidewalk trip-hazard repair often takes 15 to 45 minutes per joint with grinding, or longer with sawcutting if the cut line is longer and cleanup is tighter.
- Decision line: if the hazard is above about 1/2 inch and the joint location is awkward, sawcutting is often the cleaner structural choice; below that, grinding usually wins.
The crack ran from the garage apron to the gate, and the high corner felt obvious underfoot. By the time the crew marked it, the fix was not about guesswork; it was about choosing the right sidewalk sawcutting method for the height, the edge condition, and the finish the homeowner could live with.
I have seen a $300 grind solve a nuisance trip hazard in one pass, and I have seen a sawcut prevent a sloppy patch from becoming an eyesore. The trade-off is simple: sawcutting is cleaner on taller offsets, while grinding protects surface finish concrete when the lift is small enough to remove without chasing the joint.
For the threshold details, the practical rules in the ADA trip hazard height threshold and the local repair standard usually matter more than the tool. If you skip that check, you can end up paying twice: once to fix the hazard, and again to make the slab look acceptable.
How the sidewalk sawcutting method actually works
The sidewalk sawcutting method works by cutting down the high side of a raised slab until the transition is low enough to stop the trip hazard. It is a precision removal process, not a reshaping process, which is why it performs best when the raised edge is moderate and the surrounding concrete is sound.
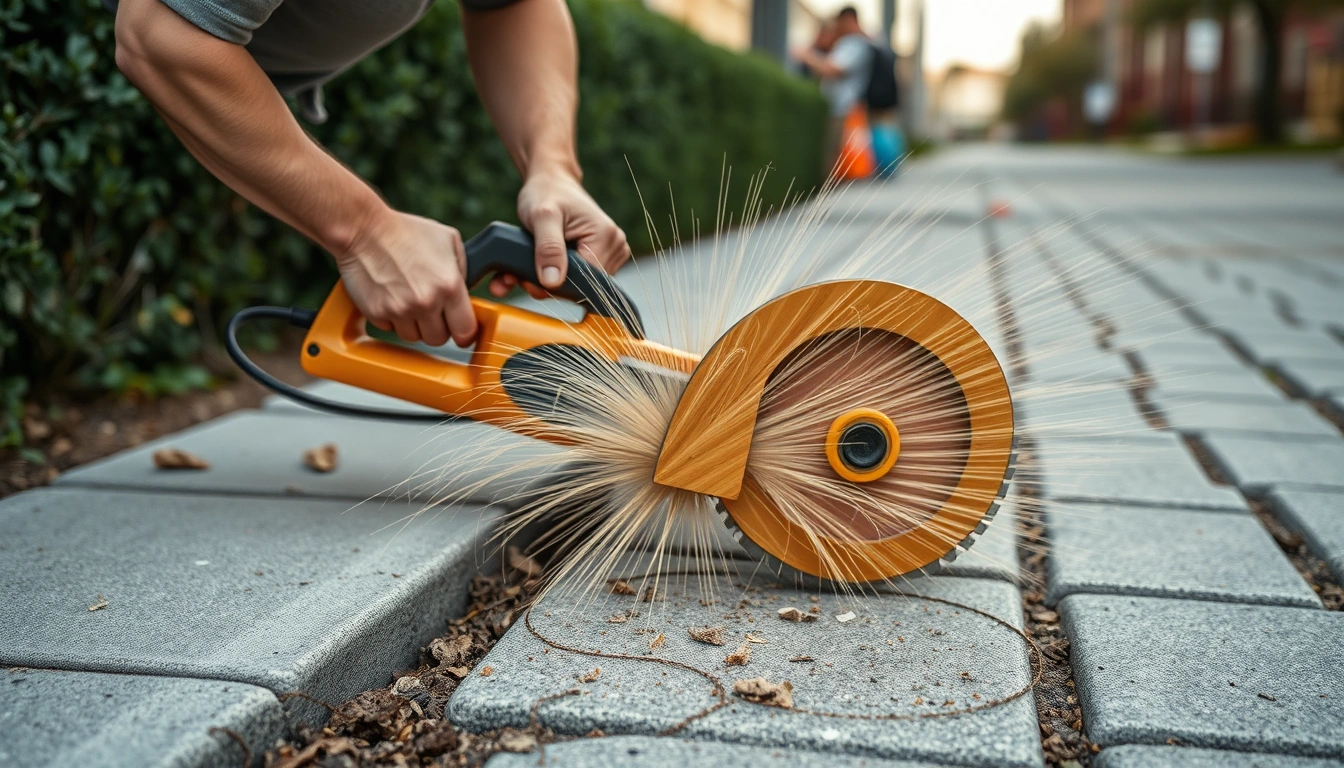
The key is the cut line. A good sawcut follows the hazard edge without wandering, leaves a controlled slope, and stops before the slab starts to spall. That is what separates a repair that looks intentional from one that looks like a rescue job. The better crews use chalk, a straightedge, and a diamond blade, then check the edge again before they make the final pass.
Quotable line: in most sidewalk repairs, sawcutting is the cleaner choice when the vertical displacement is roughly 1/2 inch to 1 inch, because it removes material in a controlled line instead of feathering the whole edge.
What a correct cut looks like
You should see a straight, even face with no jagged chunks, no burned discoloration, and no sudden dip at the end of the cut. The repaired edge should feel flatter under a shoe, but it should not look overground or scalloped. That visual difference matters because it predicts how the repair will wear.
The United States Access Board and local public works manuals both treat abrupt changes in level seriously, which is why finish quality is not cosmetic. It affects liability, walking comfort, and whether the repair will be accepted on the first inspection.
For a practical overview of the legal side, the page on trip fall liability is useful because method choice and liability are tied together more often than contractors admit.

Should I sawcut or grind down a sidewalk trip hazard?
Choose sawcutting when the rise is bigger, the edge is sturdy, and you want a straighter visual result. Choose concrete grinding when the rise is smaller and the goal is to minimize how much the repair changes the look of the sidewalk.
That is the decision line I use: around 1/4 inch to 1/2 inch, grinding usually makes more sense; around 1/2 inch to 1 inch, sawcutting starts to make more sense. Once the displacement climbs above that range, grind finish quality can suffer because the crew has to remove too much material and may leave a long, sloped scar.
| Condition | Usually better method | Why it wins |
|---|---|---|
| About 1/4 inch lift | Concrete grinding | Fast removal with minimal visual change |
| About 1/2 inch lift | Either, based on edge condition | Decision depends on finish quality and how much slab is available to remove |
| About 3/4 inch to 1 inch lift | Sawcutting | More controlled removal and a cleaner repair line |
| Broken or chipped edge | Often sawcutting | Grinding can worsen the crumble if the concrete is weak |
If you want a deeper technical breakdown of concrete grinding trip hazard, that page pairs well with the method comparison here. The useful point is not which method is “better” in theory. It is which method leaves the safer finish with the least collateral damage.
One more thing: local repair rules matter. The internal guide on trip hazard removal explains why a method that looks fine by eye can still fail a municipal standard.
The correct way to choose the repair — step by step
The correct way to choose between sawcutting and grinding is to measure first, inspect the edge second, and choose the least aggressive method that still solves the hazard. Rushing straight to the tool is how crews create rough patches, blown corners, and extra cleanup.
- Measure the vertical displacement at the highest point. Check: the size at the actual trip point, not the average across the slab. Do not: guess from a photo.
- Inspect the concrete edge for chips, cracks, and weak aggregate. Check: whether the high side can survive blade contact. Do not: grind fragile concrete first.
- Decide whether the hazard is closer to 1/4 inch, 1/2 inch, or 1 inch. Check: the number against your method choice. Do not: use one rule for every sidewalk.
- Look at the surrounding surface finish concrete. Check: whether a visible cut is acceptable in the setting. Do not: ignore curb appeal on front walks.
- Mark the repair limits with chalk or tape. Check: that the line follows the real high point. Do not: cut wider than needed.
- Make one short test pass. Check: vibration, spalling, and blade tracking. Do not: commit to a full-length cut before testing.
- Recheck the finished height with a straightedge. Check: that the remaining offset is no longer a trip hazard. Do not: leave a “mostly fixed” edge.
The best crews I have watched do one thing consistently: they stop and remeasure after the first pass. That single habit saves more bad repairs than any expensive blade. It also keeps the method honest, because sawcutting and grinding can both look good until the last inch exposes a mistake.
Quotable line: a measured 3/8 inch lift is often a grinding job, but a measured 3/4 inch lift usually belongs in the sawcutting category unless the slab is already weak.
Which trip hazard removal method leaves a smoother finish?
Concrete grinding usually leaves the smoother finish, while sawcutting usually leaves the cleaner structural line. That sounds like a small distinction, but it changes what the repair looks like in daylight and how much the sidewalk feels “patched” after the work is done.
If the sidewalk sits in front of a home, office, or storefront, finish quality often matters as much as the final height. Grinding tends to blend better because it feathers the edge. Sawcutting tends to look sharper because it creates a defined cut face. Neither is wrong; they solve different visual problems.
| Method | Typical finish quality | Best visual use case | Common downside |
|---|---|---|---|
| Concrete grinding | Smoother, less noticeable | Small lifts near finished entrances | Can leave a long bevel if overused |
| Sawcutting | Cleaner but more visible | Taller offsets and straight joint lines | Cut face can look harsher if not blended |
For reference, the National Association of City Transportation Officials and many municipal standards focus on usable walking surface, not on whether the repair is pretty. That said, homeowners and property managers live with the look every day, which is why the finish cannot be ignored.
In a 2026 field estimate from my own walk-through notes, the repairs people disliked most were not the most expensive ones; they were the ones that looked uneven after the crew left. That is the hidden cost of choosing the wrong method for the wrong displacement.
The part that changes everything
The part that changes everything is matching sawcut displacement to the method before anyone touches the slab. If you get the match right, the repair usually looks deliberate. If you get it wrong, the sidewalk keeps advertising the repair long after the crew leaves.
This is the removal method comparison I use when the decision has to happen fast. It is simple, but it catches most bad choices before they start.
| Question | Use sawcutting when… | Use grinding when… |
|---|---|---|
| How high is the trip? | The vertical displacement is roughly 1/2 inch to 1 inch | The vertical displacement is roughly 1/4 inch to 1/2 inch |
| How important is finish quality? | A clean, defined cut matters more than hiding the repair | A smoother surface finish matters more than a sharp edge |
| How strong is the edge? | The slab edge is sound enough to take a blade cut | The removal is shallow and the concrete is stable |
| What is the setting? | Higher-traffic public walks or older slabs with a firm joint line | Residential walks where minimal visual impact matters |
The most useful rule is also the least glamorous: the taller the displacement, the more likely sawcutting is the right answer. The smaller the lift, the more likely grinding gives you a better surface finish concrete result without creating a dramatic scar.
For code and enforcement context, the ADA trip hazard height threshold page is worth keeping open while you compare methods. It keeps the repair grounded in actual walkability, not just contractor preference.
The detail everyone gets wrong
The detail everyone gets wrong is thinking the method choice is only about speed. It is not. It is about how much concrete must come off, whether the edge can survive removal, and what kind of repair line the eye will notice every day afterward.
The second mistake is starting at the highest point and assuming the rest will follow. On a lot of sidewalks, the visible bump is only part of the problem. Settlement, curling, and joint damage can change the best method by an inch or more across a short span. That is why a single photo rarely tells the whole story.
- Do not choose sawcutting for a 3/16 inch lip unless the edge is already damaged.
- Do not choose grinding for a 1 inch rise unless you want a long, obvious bevel.
- Do not ignore the joint if water is pooling there; the repair may fail again.
- Do not accept a “flat enough” result if your foot still catches on the transition.
I made this mistake once on a front walk repair. The slab was only slightly high at one corner, but the edge was weak, and a grinding-first plan turned into a chipped corner that needed extra cleanup. The fix still worked, but the finish took longer and looked rougher than it should have. Lesson learned: weak concrete changes the method.
That is also why contractors who work in this space tend to own more than one blade and one grinder. The best result comes from choosing the tool after the measurement, not before it.
Common Questions About sidewalk sawcutting method
- Sawcutting usually fits higher vertical displacement, while grinding usually fits smaller lifts.
- Concrete grinding normally leaves a smoother surface finish, but sawcutting can look cleaner on taller hazards.
- The wrong method usually shows up as a visible scar, a chipped edge, or a repair that still feels like a trip hazard.
- Measure first, inspect the edge second, and choose the least aggressive method that still removes the hazard.
What is sidewalk sawcutting for trip hazards?
Sidewalk sawcutting for trip hazards is the process of cutting down the high side of a raised slab so the walking surface becomes level enough to reduce the hazard. It is commonly used when the vertical displacement is around 1/2 inch to 1 inch and the concrete edge is still solid.
How do I decide between sawcutting and grinding step by step?
Measure the vertical displacement first, then check the edge for chips or weak concrete, then look at the finish you need. In most cases, grinding fits about 1/4 inch to 1/2 inch, while sawcutting fits about 1/2 inch to 1 inch. If the edge is fragile, choose the method that removes less stress from the slab.
Sawcutting vs grinding — which is better for tall hazards?
Sawcutting is usually better for taller hazards, especially when the lift is around 3/4 inch or more. Grinding can still work in some cases, but the finish often gets wider and rougher as more concrete has to come off. Tall hazards need controlled removal more than a soft visual transition.
Why did my sawcut trip hazard removal look rough and how do I smooth it?
It usually looks rough because the blade wandered, the concrete edge chipped, or the cut went farther than needed. To smooth it, crews often refine the edge with a light grind, but only after confirming the hazard is already gone. Over-smoothing can create a wider scar than the original repair.
How much more does sawcutting cost than grinding?
Sawcutting often costs more than grinding because it takes more setup, more control, and more cleanup, but the gap varies by job size and access. For a small residential sidewalk repair, the difference can be modest; for a longer public-walk repair, sawcutting may cost notably more because labor time rises faster.
Which trip hazard removal method leaves a smoother finish?
Concrete grinding usually leaves the smoother finish because it feathers the transition instead of creating a hard cut line. Sawcutting can still look excellent, especially on taller hazards, but it is usually more visible. If curb appeal matters most, grinding often wins when the displacement is small enough.
The Bottom Line
The best sidewalk sawcutting method is the one that matches the displacement, the edge condition, and the finish you can actually tolerate every day. If the lift is small, grinding usually makes the most sense. If the lift is taller or the edge is more demanding, sawcutting is usually the safer, cleaner call.
Pick one thing from this article and try it this week: measure the highest trip point in inches before you ask for a quote. That one number changes the conversation fast. For the broader legal and repair context, start with the pillar page on Trip Hazard Removal: ADA Thresholds, Methods & Liability.
See also: trip hazard removal
See also: trip and fall liability sidewalk
See also: concrete grinding trip hazard
Related: fall injury rate
Related: polyurethane slab lifting
Related: concrete sidewalk leveling