“`html
Soil Settlement Sidewalk: Why It Keeps Sinking and How to Stop It
⏱️ 9 min read · Last updated: 2026
- Common poor compaction problems show up in the top 4 to 8 inches of soil, which is the layer that carries the sidewalk edge.
- Void filling for a typical sidewalk panel often uses about 1 to 6 cubic feet of material, though larger washouts can need more.
- Soil erosion is usually the recurring culprit when a sidewalk sinks in the same spot after a lift, especially near downspouts, curb lines, or sloped yards.
- Polyurethane foam lifting usually sets fast enough for foot traffic the same day; many mudjacking jobs need longer cure time before heavy use.
- Concrete leveling is often far cheaper than replacement, but it only lasts when the underlying soil settlement and drainage problem are corrected.
A soil settlement sidewalk problem usually comes back for one reason: the support below the slab is still failing. The concrete is just the symptom. Beneath it, the real trouble is weak compaction, erosion, or water still moving through the panel’s base. Therefore, addressing the soil is the first step to a permanent fix.
I have watched repairs fail because the crew lifted the slab but left wet, loose fill under it. On one job, the quote for replacement was roughly $4,800; the leveling invoice came in just under $1,100, but only after the drain line was redirected and the void was filled first. This illustrates that a true solution requires more than a surface-level lift.
Why does my soil settlement sidewalk keep sinking in the same spot?
The same spot keeps sinking because the support under that panel is still failing. Usually, the cause is subgrade settlement from weak soil, poor compaction from the original install, or a soil erosion void created by moving water. Understanding these root causes is essential to stopping the recurrence.
Start with the ground, not the concrete. The slab almost never “sinks” by itself; it drops when the soil beneath it loses density or washes out. If the panel settles next to a downspout, a driveway edge, or a sloped lawn, water is usually in the mix. Thus, diagnosing the water path is critical.
A sidewalk that settles in the same corner twice usually has a drainage problem, a compaction problem, or both. Leveling without fixing either one is a temporary lift, not a repair.
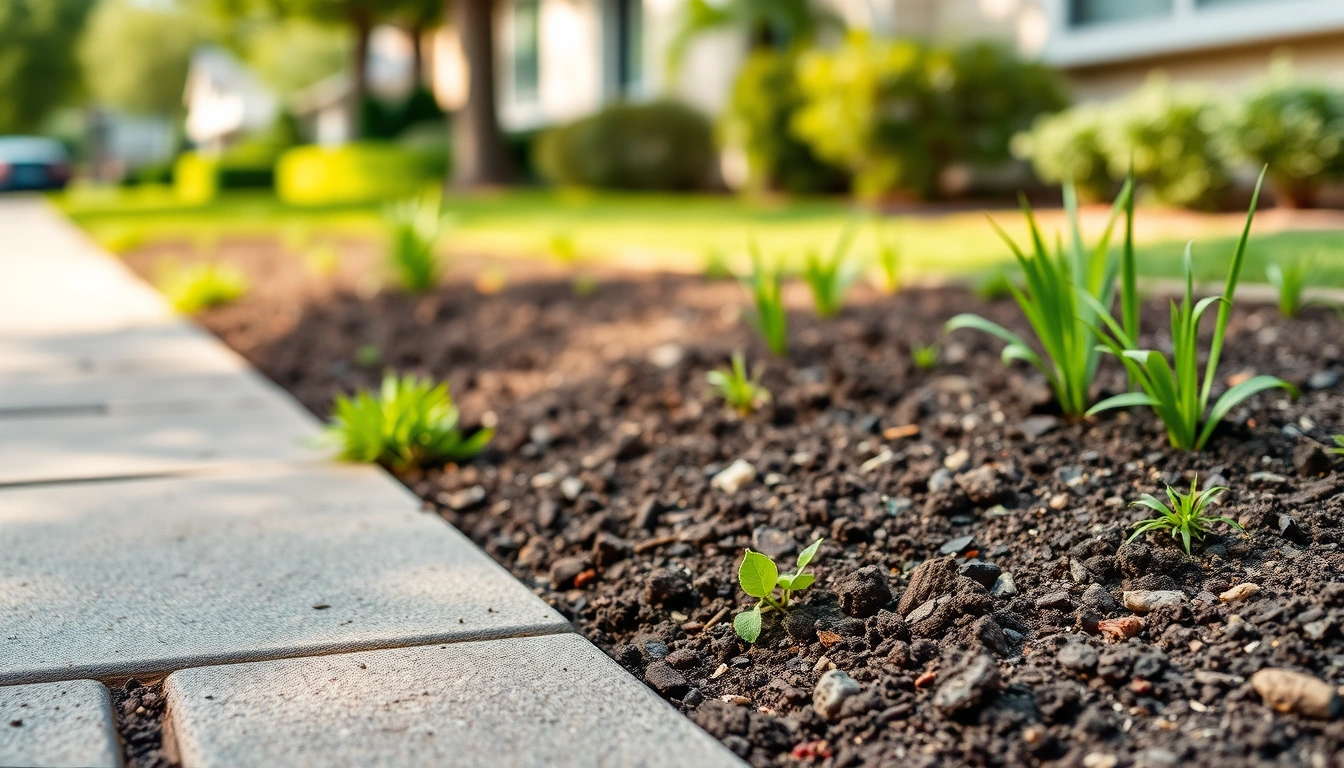
Look for this: the slab edge sits low, one side of the joint opens up, and the soil beside it looks rounded or scalloped instead of tight and dense. That scalloping is a clue that the ground is collapsing or being carried away, indicating an active soil settlement issue.
What soil problems cause a soil settlement sidewalk to settle?
Three primary soil problems do most of the damage: poor compaction, soil erosion, and subgrade settlement. The quickest way to sort them out is to see where the sinking began, how the soil looks, and whether water is moving through the area. Each of these requires a different approach for a lasting fix.
Poor compaction usually shows up soon after construction or after a utility trench is backfilled. Soil erosion tends to show up later, especially near edges where runoff can enter and create a soil erosion void. Subgrade settlement is the broad term for the ground compacting or consolidating over time under load. Different causes, different mess, and different solutions.
| Cause | What it looks like | What fixes recurrence |
|---|---|---|
| Poor compaction | Fresh dip, usually at a fill area or trench | Remove loose material, compact in thin lifts, then level |
| Soil erosion | Gap, washout, or hollow sound under the slab | Void filling, drainage correction, and edge sealing |
| Subgrade settlement | Broad, slow drop across one panel or several | Stabilize support and improve drainage before lifting |
The repair changes with the cause. If runoff made the void, void filling without a drainage change is unfinished business. If the soil was packed badly from day one, adding more water or slurry can make things worse instead of better. Consequently, a correct diagnosis leads to the right repair.
A repair that does not address soil movement is treating the symptom, not the cause. That is why some sidewalks settle again within one rainy season.
How the fix actually works under the slab
The real fix is support restoration, not just raising concrete. For a lasting soil settlement sidewalk repair, the process is simple on paper: find the void, fill it, stabilize the soil if needed, and then lift the slab back to grade. This systematic approach ensures the underlying issue is resolved.
This is where concrete sidewalk leveling matters. Leveling alone can make the trip hazard disappear, but it does not stop repeat settlement unless the under-slab soil is made stable enough to carry the load. That trade-off between a quick fix and a permanent solution is important.
What the crew is trying to create
The goal is a firm, continuous bearing surface under the full panel. Uniform support is the target — tap the slab from edge to edge and it should sound solid. Hollow spots mean the repair is still incomplete.
- Inspect the settlement path. Check the slab edge, nearby downspouts, and any crack that points toward the low spot. Do not start lifting before finding the water source.
- Probe the joint and perimeter to detect voids. Do not force the probe deep enough to chip the concrete edge.
- Map the drainage. Check whether roof runoff, irrigation, or uphill grading is sending water toward the sidewalk. Do not ignore water just because the slab is dry today.
- Choose the support fix. For erosion voids, use void filling; for loose fill, use re-compaction or stabilization before lift. Do not inject material blindly into saturated soil.
- Lift in small increments. Raise the slab gradually and check the joint after each pass. Do not chase perfect height in one push.
- Address the root causes of soil movement. Extend downspouts, correct negative slope, or regrade the edge if needed. Do not leave the same runoff path in place.
The common compaction failure depth is usually shallow, often the top 4 to 8 inches of backfill. That is why a small-looking sidewalk dip can still be a soil problem, not a concrete problem. This shallow failure often surprises homeowners.
The correct way to repair a soil settlement sidewalk step by step
The correct repair starts with the soil, not the slab. A good crew checks drainage, fills voids, and only then levels the sidewalk so the same spot does not drop again. Following this sequence is key to durability.
If you want the fix to last, follow the same order. Skip the order and you usually pay twice. Here is the proven sequence.
- Inspect after rain. Check where water stands, where it runs, and where soil has washed away. What to check: wet seams, depressions, and exposed aggregate. What not to do: assume dry weather means the drainage is fine.
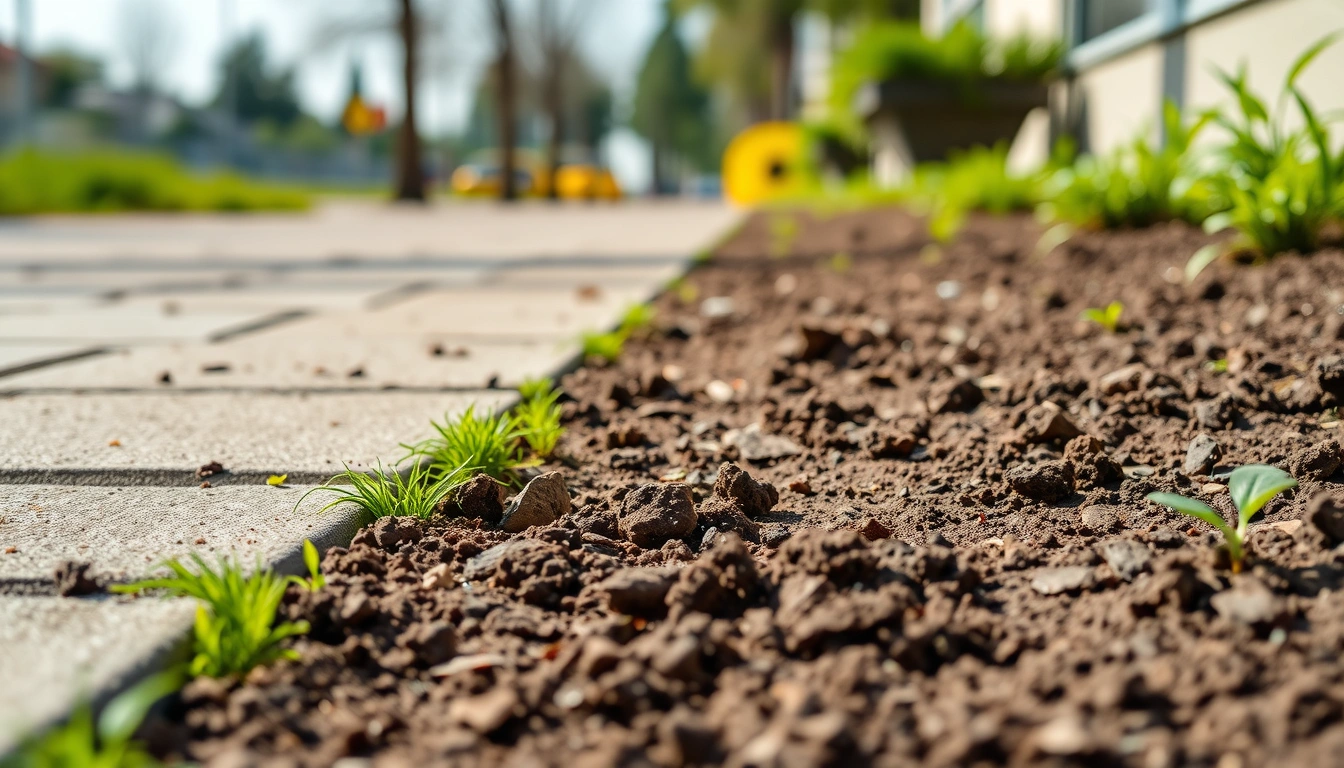
- Expose the perimeter. Remove grass or loose soil at the edge if needed. What to check: open seams and underground gaps. What not to do: pry directly against the slab edge.
- Measure the drop. Use a straight board and tape measure to confirm how far the panel has moved. What to check: trip-height changes and panel slope. What not to do: guess at the lift amount.
- Fill the void. Inject the chosen material until the slab responds evenly. What to check: resistance change and material return at the edge. What not to do: overfill and create a hard point under one corner.
- Stabilize the soil. If the fill is loose or wet, compact or strengthen it before final leveling. What to check: firmness under probe pressure. What not to do: trap soft soil under a tight slab.
- Lift and verify. Raise the panel in small steps and stop at flush grade. What to check: joint alignment, drainage direction, and no fresh cracking. What not to do: over-lift to make one side look perfect.
- Protect the repair. Extend runoff away from the panel and keep the joint clear. What to check: downspout discharge and slope over the next storm. What not to do: let mulch, soil, or leaves build against the edge.
For a cost reality check, is concrete leveling worth it depends on whether the sidewalk panel is still structurally sound. If the slab is intact, leveling usually costs far less than replacement and takes much less time.
Typical void fill volume for one sidewalk panel is about 1 to 6 cubic feet, but a washed-out edge near a gutter or slope can take more.
Before vs. after: what a good soil settlement sidewalk repair actually looks like
A good repair is obvious before you even measure it: the joint lines up, the edge feels solid, and the slope sends water away from the slab instead of toward it. A bad repair still looks active, with hairline cracks, a loose joint, or soft soil at the perimeter. This visual confirmation is your first indicator of success.
The visual difference is usually in the details. Edge condition is the giveaway — after the fix, the slab should sit tight against the soil with no daylight under the border. That is what separates a durable lift from a cosmetic one.
| Check | Good after-repair result | Warning sign |
|---|---|---|
| Joint gap | Tight, even, and stable | Open on one side |
| Foot traffic | No bounce or hollow sound | Crunching or movement under step |
| Drainage | Water moves away within minutes | Standing water against the edge |
| Soil surface | Firm, settled, and graded | Fresh sink marks or soft spots |
One useful benchmark from field work: if a repaired section still loses more than a quarter inch after the next heavy rain, the drainage fix was not finished. That is when the problem is still active, even if the slab looked level the day it was lifted.
The detail everyone gets wrong
The mistake is thinking all sinking is the same. It is not. Poor compaction, soil erosion, and subgrade settlement need different fixes, and the wrong one can make the sidewalk settle faster. Identifying the correct cause is therefore paramount.
Here is the most common failure pattern I have seen: a crew injects material under a sunken slab, the slab looks good for a month, then runoff finds the same weak path and reopens the void. That is why a good void filling fix should always be paired with water control.
If the area is next to a roof edge, a sloped driveway, or a sprinkler line, fix that first or at the same time. The best results come from simple physics: keep water out, keep soil dense, and keep the load spread evenly. This fundamental principle applies to every soil settlement sidewalk repair.
For comparison with full replacement, see leveling vs replacement sidewalk. Replacement makes sense when the slab is cracked through, heaved badly, or too thin to hold a repair.
The other overlooked detail is timing. If the soil is wet and soft, wait for conditions to dry enough for proper stabilization. I have seen crews rush the job on soggy subgrade and create a repair that failed before the season changed.
Can I fix the soil so my soil settlement sidewalk stops sinking permanently?
Yes, you can often stop repeat sinking permanently, but only if the drainage and support problem are fixed with the lift. A true permanent result comes from soil stabilization, void filling, and water control working together. This integrated approach is the only way to ensure a lasting fix.
This is why the answer is rarely “just lift it.” The sidewalk is the visible part, but the recurring failure is usually below grade. If the panel is sound and the settlement is limited, that is exactly where leveling beats replacement. Good news, but only with the hidden work done.
Concrete leveling and drainage correction are the fastest path to a stable repair when the slab is still structurally sound; replacement is the better choice when the concrete itself has failed.
If you are deciding between methods, a quick rule helps: choose leveling when the slab is intact, the drop is modest, and the cause is fixable at the soil level; choose replacement when the slab is broken, thin, or badly deteriorated. If the crew cannot explain the cause of the settlement, get a second opinion before spending money.
What happens after 30 days?
After 30 days, a good repair should still look level, drain cleanly, and feel solid underfoot. If the same edge has dipped again, the root cause was not corrected. The first month tells the truth about the repair’s quality.
Small soil movement, poor drainage, or an incomplete void fill usually shows up by then, especially after one hard rain. That is why I always treat the 30-day check as part of the repair, not an optional follow-up.
- Check the repaired panel after rain and after one dry week.
- Measure the joint with a straightedge or board.
- Look for new cracks near the lifted edge.
- Watch whether runoff changes direction during storms.
One honest lesson from field repairs: the cheapest quote is often the one that skips the drainage conversation, which can lead to higher long-term costs as the problem recurs.
- Sidewalk settlement usually comes from poor compaction, soil erosion, or subgrade settlement under the slab.
- A lasting repair fixes the soil problem first, then uses leveling to restore grade.
- Drainage correction matters as much as void filling because moving water causes repeat failure.
- If the slab is intact, leveling is usually smarter than replacement; if the concrete is broken, replacement wins.
Common questions about a soil settlement sidewalk
What causes sidewalk soil settlement?
The main causes are poor compaction, soil erosion, and subgrade settlement. Water from downspouts, sprinklers, or slope often triggers the problem. In practice, the fix is to stabilize the soil path first, then level the slab so the same area does not drop again.
How to fix the soil under a sinking sidewalk step by step?
Start with drainage, then find the void, then fill and stabilize the support before leveling. Check downspouts, probe the edge for hollow spots, and correct the runoff path. A repair that ignores water control often settles again after the first heavy rain.
Leveling vs soil stabilization — which prevents re-sinking?
Soil stabilization prevents re-sinking better when the underlying fill is loose, wet, or eroded. Leveling restores height, but it does not solve weak soil by itself. In most cases, the best result is stabilization plus leveling, especially if the same sidewalk panel has moved more than once.
Why does my sidewalk keep sinking after leveling and how to stop it?
It keeps sinking because the root cause was left in place, usually runoff, poor compaction, or a void under the slab. Stop it by redirecting water, filling the void fully, and checking the repair after the next storm. If the ground stays soft, replacement may be the better call.
How much does soil stabilization add to leveling cost?
Soil stabilization can add a modest amount or a meaningful amount, depending on access and how much void filling is needed. For a small sidewalk panel, the added work may stay in the low hundreds; for active washouts, drainage corrections can cost more than the lift itself.
When should I replace the sidewalk instead of leveling it?
Replace the sidewalk when the slab is cracked through, badly spalled, or too thin to hold a lasting repair. Leveling works best when the concrete is still structurally sound and the settlement is caused by the soil below, not by concrete failure itself.
The Bottom Line
A soil settlement sidewalk problem is fixable when you treat the soil, not just the slab. If the panel is still sound, focus on drainage, void filling, and a careful lift; if the concrete is broken or the ground keeps moving, replacement may be the smarter spend. Pick one thing from this article and try it this week — start by tracing where water goes after the next rain. For the broader decision between repair methods, see the pillar page on Concrete Sidewalk Leveling: Polyjacking, Mudjacking & When to Use Each.
See also: concrete sidewalk leveling
See also: is concrete leveling worth it
See also: mudjacking problems
Related: cost savings percentage
Related: sidewalk liability and responsibility
“`
See also: concrete sidewalk leveling
See also: sidewalk repair
See also: sidewalk liability and responsibility